Love to camp but dread having to level up your RV once you arrive at your campsite? Are you new to camping and have never had to level a motorhome or travel trailer and don’t know where to start?
Trust me, you are not alone.
While some campgrounds offer wonderfully level pads, many camping locations, especially state and national parks, have very uneven ground upon which you must park your recreational vehicle.

Leveling up your RV after a tiring day of driving can be stressful. So what’s the best way to level your RV quickly and safely so you can start having fun?
I wrote this guide to give you easy tips to quickly level any type of recreational vehicle like:
- Teardrop camping trailers
- Pop-up and hybrid trailers
- Travel trailers
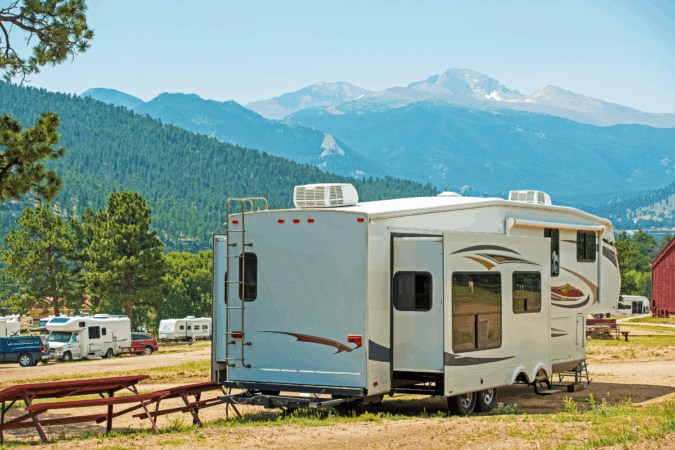
- Fifth-wheel campers
- Class B motorhomes and campervans
- Class C motorhomes
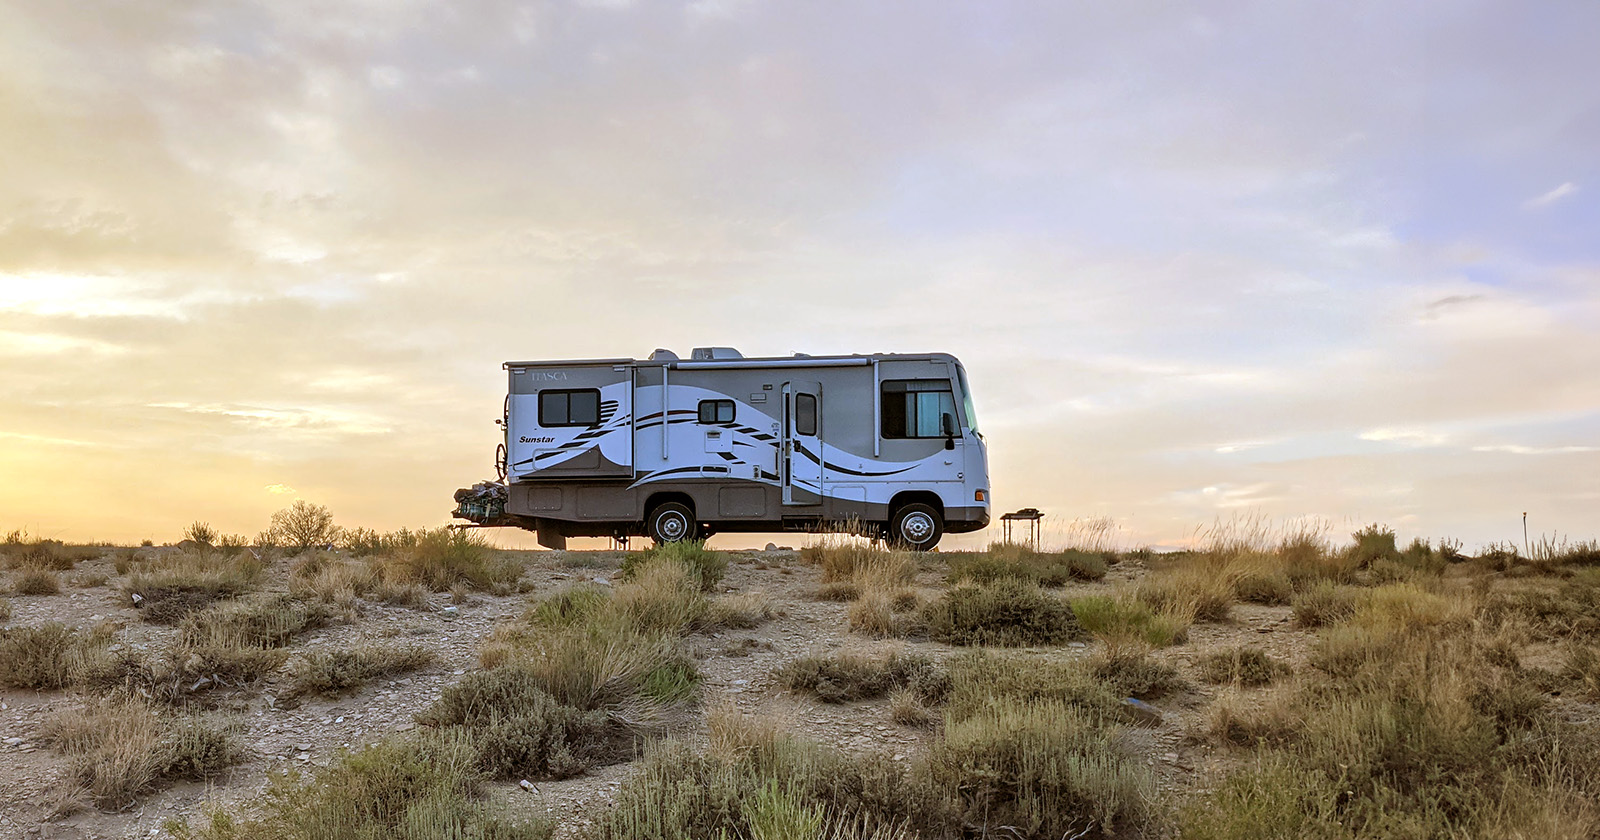
- Class A motorcoach
Read on so you’ll always be ready with the right methods and equipment to quickly and easily level up your RV.
Why Leveling Your RV Is So Important
Why is leveling your RV important, especially if you’re only parking overnight?
The answer is that every time you park your camper on uneven ground, you are adding undue stress to your RV components and making your guests uncomfortable.
In this section, I give you the four reasons why leveling a recreational vehicle is so critical.
#1 – Having the Refrigerator Work Properly
The number one reason for needing to level up your motorhome or travel trailer is to keep the fluids inside your refrigerator coils flowing correctly.
Most RV refrigerators employ low-temperature evaporator coils full of liquid ammonia that rely on gravity for proper flow. Liquids won’t flow uphill, so if your camper is over 2 degrees out of level (or half a bubble off) within a three-foot span, the ammonia can settle and block up the coil.
When your RV is not level, the refrigerator cooling system malfunctions, and you end up with warm food and drinks. If you keep straining your fridge in this way, it could break down entirely, leading to a costly fix.
#2 – General Comfort of Guests
A recreational vehicle that is even slightly off-level can lead to some aggravating conditions like items falling out of cabinets or you roll into your bed companion all night long.
For RVs with showers, you may need to push water into the drain if your camper is too off-level or your door will not shut right.
Just the unsteady feel you’ll encounter while walking throughout an off-level RV will have you wishing you took the time to level it up.
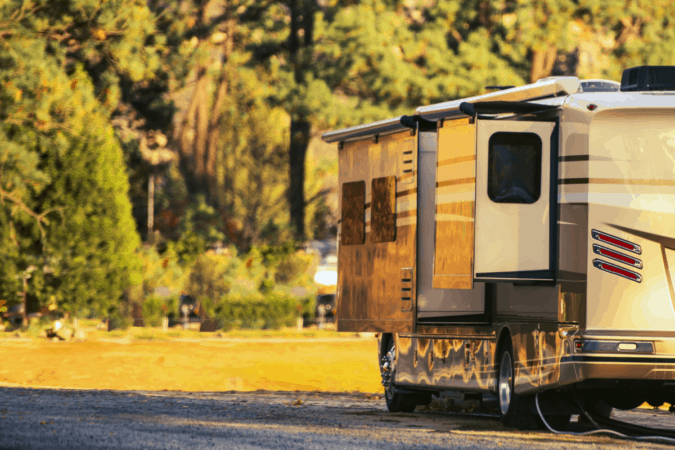
#3 – Damage to Slides and Other RV Components
For travel trailers and motorhomes with slide-outs, it’s even more important to achieve a level platform to reduce strain on the slideout motor system.
When your camper is off level, and you deploy your slideouts, the uneven weight creates way more stress on the gears and leads to eventual failure.
Parking off-level in any recreational vehicle puts excessive pressure on the tires, axles, and other undercarriage parts on one side. When you make a habit of parking out of level, expect more wear and tear across your entire RV structure.
#4 – Inaccurate Readings from Water and Waste Storage Tanks
If you rely on tank sensors to alert you that it’s time to fill the water or empty the black tank, being off-level can lead to issues.
Tank sensors are only on one side of a tank. Depending on which direction you are out of level, your sensor can indicate either an inaccurate high or low reading.
If you don’t empty your black or grey water tank when you should because your sensor shows you have plenty of space, you may end up with a messy overflow into your RV.
Types of Leveling Jacks and Blocks
Even if your camper comes with hydraulic jacks, it’s always smart to have extra leveling blocks on hand to deal with very uneven terrain.
To manually level RVs you will need leveling blocks and jacks.
#1 – Leveling Jacks vs Stabilizing Jacks vs Hydraulic Jacks
I can’t stress enough the difference between hydraulic leveling jacks, a manual leveling jack, and stabilizing jacks.
Many unfortunate RVers use stabilizing jacks to level up their camper, only to find out they can’t hold the weight of their RV when the jacks fail and their camper comes down hard.
Sometimes people refer to these two different types of jacks in a way that makes them seem interchangeable, but they are not!
Remember that if it’s hydraulic or referred to as a leveling jack, it’s made to hold the weight of an RV or trailer. If the jack is for RV stabilization, it usually has a manual crank or an electric motor and the instructions state it’s made to reduce sway when you walk about inside your RV.
Hydraulic leveling jacks enable you to level and stabilize your camper with the touch of a button. You can buy a camper with factory-installed hydraulic jacks, but it’s very imperative if you wish to retrofit your camper with this type of leveling system that they can hold the weight of your fully-packed RV.
Hydraulic leveling jacks are very heavy, so you must also check that adding the jacks will not push your camper over its GVWR (Gross Vehicle Weight Rating).
#2 – Leveling Blocks
You can buy leveling block sets from camping stores and online. These heavy-duty plastic or rubber blocks can lock onto each other so you can widen the block or make it taller.
Many RVers make leveling blocks out of pressure-treated wood planks. Wood blocks tend to be heavier than plastic ones and are harder to stack without sliding around.
Wooden blocks, on the other hand, are more durable than plastic and can be cut to the exact dimensions for your RV tires.
You must always make sure a leveling block is large enough to fit under your tire completely. The block must support every bit of your tire, with no overhang, to prevent tire damage.
Tips and Tricks to Level All Types of Recreational Vehicles
Next, I discuss the quickest and safest way to level up all kinds of recreational vehicles.
For those lucky souls who have hydraulic leveling jacks on their RV, you can follow along in the event you ever have a neighbor who needs assistance leveling up their rig.
For the rest of us who have to rely on blocks and jacks to manually level our camper, I hope this guide helps you achieve this task in the least stressful way.
With time and practice, leveling your camper will become second nature, just like hooking up your power and sewer lines or putting out your awning.
A great tip is to attach bubble level indicator bars and bulls-eye levels permanently to your camper in various strategic spots. These indicators will show you at a glance just how much adjustment you need to get your RV level without having to carry a bulky leveling tool.
I will note in each RV type leveling section just where you should place these level indicators for optimal convenience.
You must also know that at times it’s much easier to remove some gravel or dirt under a tire to achieve level than it is to use leveling equipment.
I carry a small shovel and use it if I have two inches or less of distance I need to adjust under the tires, and the ground is gravel. It’s simple to scrap up extra gravel from the site to add height or push it aside to lower a tire.
I prefer not to dig in grass or dirt since it’s time-consuming and can ruin a campsite. Gravel is easy to push back into place once we pull out of the site, so it looks nice for the next guest.

#1 – Teardrop Camper Leveling
Small teardrop campers are the easiest to level by rotating it slowly until you reach side-to-side level.
If you attach a level indicator horizontally to one or both rear corners of your teardrop, you can take a peek and quickly see if you need to reposition.
Once the side-to-side level is good, use your jack stand to level front to back. Placing another bubble level indicator on the tongue helps to see the right spot.
Using a block of wood or a plastic leveler under your jack stand can give the camper extra stability on bare ground and keep you from having to extend your jack stand leg out too far, which can cause it to bend.
If moving your teardrop around using the rotation method is not possible, you can roll your camper forward, place a leveling block down where the tire is low, and push the teardrop onto the block.
You can also use a leveling jack explicitly made for lightweight, single-axle trailers. These leveling jacks are manufactured to lift and lower 13-inch, 14-inch, and many 15-inch tires.
This jack also doubles as a very secure wheel chock.
The downside of this jack is the weight, and the size may be too large to fit inside your camper or tow vehicle easily.
Once you level your teardrop camper, chock your wheels and lock your jack stand. If you feel you need less movement inside your teardrop, you can use two stabilizing jacks after leveling is complete.
#2 – Pop-Up and Hybrid Camper Leveling
I have found that many people who own pop-up and hybrid tent trailer campers really like to use plastic crescent-shaped levelers to straighten out their unit.
Every pop-up and hybrid camper is a little different, but it’s pretty universal the way you handle leveling these campers. Please also refer to your owner’s manual for any specific instructions that deal with camper leveling.
Permanently attach small bubble levels horizontally around the box of your closed camper as close to the center as possible. In this configuration, you’ll be able to see how level you are no matter where you are standing.
DO NOT unhook your tow vehicle from your pop-up or hybrid until you get your camper level side to side.
Find the low tire and pull forward just enough to place your leveling crescent or block directly behind the tire. Push your camper back onto the block and re-check for level. If the trailer is still too low on that side, pull forward, add another block, and go back onto it again.
I think the lighter weight of pop-ups and hybrids can make driving up onto squared-off blocks difficult and that is why owners favor the crescent-shape blocks.
Crescent blocks will raise the tire higher the further you drive back onto it, which simplifies the leveling task. After you level the camper using blocks, place chocks at each tire to prevent any further tire motion.
Another way to level pop-up campers and hybrid camping trailers is to use the same type of leveling jack around the low tire as I spoke about in the teardrop section. Simply slide the jack around the low tire and use the ratchet wrench to raise the tire until the camper is level.
Again, this type of leveling jack also doubles as a wheel chock, but add a chock to the other tire for safety and to lessen movement inside your pop-up.
Your camper is now level side to side, and it’s time to unhook it from your tow vehicle. Use the tongue jack to level the box of your camper by watching your bubble level indicator and then lock your tongue jack into place.
Once the camper box is level, raise the roof and flip out your extensions.
Never put down your stabilizing jacks until your roof is up. The motion of raising or lowering the roof puts undue pressure upon the jacks, so always bear in mind to keep your stabilizing jacks up while doing this task.
If your trailer tongue has a wheel, you can use a handy wheel dock to keep the wheel from rolling.
Once the roof of your camper is up, you can lower your stabilizing jacks. Make sure the jacks are snug to the ground. It’s beneficial to place a piece of wood under the jack feet to create a flat, stable surface.
Once your stabilizing jacks are in place, walk around your camper to again verify you are level from each angle, then open up the bed extensions and lower the door. Everything should open smoothly when your camper is level.
If for some reason you find your level is too far off, do not use your stabilizing jacks to fix it as these are not made to hold the weight of your camper.
If you have a leveling jack around your tire, you can give it a crank or two to level up the side to side positioning of your camper.
As with all RV leveling jobs, make sure your tongue jack lock and wheel chocks are in place before you set up the rest of your camp.
#3 – Travel Trailer Leveling
I see that most people who pull a travel trailer with a pickup truck use lengths of 8-inch or 10-inch wide wood planks to use as leveling blocks. It’s so easy to toss the wood into the bed of the truck without having to store them inside your travel trailer.
I see some ingenious leveling blocks that have several layers of wood that are secured together in a stacked design so depending on where on the block you park you can raise the tire an inch or up to five or six inches.
The other favorite method for leveling travel trailers is getting a set of snap-together blocks like Lynx Levelers which are lightweight and reasonably compact enough to store easily inside your travel trailer.
The best rule of thumb for a travel trailer is to keep your tow vehicle attached until you level your camper side to side first, since you may need to move your trailer forward and back.
If you use leveling blocks, place a block directly next to the low tire. Pull the camper forward enough to slide the block into position under the camper so the tire will fit entirely on the block, then back the tire onto the block.
If you have dual axles on your camper, make sure you lift both tires on the low side onto the blocks. To accomplish this, you place the blocks down next to both tires and pull forward far enough to clear both tires, then slide them into place and drive the tires back onto the blocks.
This method shows you exactly where you need to place the block.
Placing permanent bubble level indicators on the back bumper and front tongue or even on the center sides of your travel trailer will help you see at a glance what you need to do to level up your camper.
Once your camper is level side to side, unhitch from your tow vehicle. One person can raise or lower the tongue jack, while another can stand and watch the side level and call out when you reach level.
Once you are level in each direction, deploy your stabilizer jacks. Many travel trailer owner’s like the convenience of installing permanent RV scissor jacks onto their RVs framing, so they don’t have to store them in their camper or truck during travel.
You can manually crank these jacks, use an electric drill with an adapter, or even wire it into your electrical system and push a button to lower and raise them!
Another great tip for those looking for the best way to level their travel trailer is to invest in an electric tongue jack. Flip a switch to raise and lower the jack stand into an optimal position fast!
#4 – Fifth-Wheel Camper Leveling
Most fifth-wheel campers have slide outs that must NEVER be open when you try to level your camper.
The longer and wider your fifth-wheel the more uneven your camper will feel inside if you fail to level it up well enough.
The first step in leveling is to keep your fifth-wheel attached to your truck or tow vehicle until you have reached a satisfactory level side to side. Try to accomplish side to side level by either moving the camper over one way or the other within the campsite or by removing or adding gravel under the tires.
When using leveling blocks, place them in front of the low tires and slowly pull the camper up onto them. Fifth-wheel owners tell me it’s easier to pull the fifth-wheel forward onto blocks than to back onto them.
Once you have the fifth-wheel level side to side (by using a short level or permanent bubble level indicator on your back bumper), unhitch from your tow vehicle.
Level the fifth-wheel from front to back by raising or lowering the front leveling jack. Place a block under the jack for additional stability and to keep your jack from sinking into the soil from the sheer weight of your camper.
Next, chock the wheels and extend the rear stabilizing jacks until they are snug. Place blocks under the jack feet if they are on a surface prone to sinking.
#5 – Class B Motorhomes and Campervan Leveling
For those who own a Class B motorhome or a campervan, try to move around your campsite to find a level spot. Even when the camper is not perfectly level, the inside space will not feel as uneven due to the shorter distance between walls.
The favorite method to level a Class B motorhome or campervan is to use the handy plastic or rubber leveling blocks since they are lightweight and easy to store.
Some owners find they don’t need a whole kit, and only carry two inside their rig, but it’s always better to prepare for any leveling worst-case-scenario you could encounter.
Wood blocks also work but are heavy and bulkier to store.
To level the camper side to side, place a block next to the low tire. Pull forward and slide the block behind the wheel and back the camper onto the blocks. You can also place them in front of the tire and pull forward.
It’s helpful if you have a traveling companion to alert you when your tire is centered upon the block.
A bulls-eye style bubble level put near your driver’s console can show your level position at a glance and is the most helpful place to put a permanent level indicator. Another place to affix a bubble level indicator is on the rear bumper.
Once side to side level is good, look at the front to rear angle and either place back or front wheels onto blocks if they are too low. Use the same method of placing the block next to the tire, pulling forward, pushing the block into position and backing onto the block.
Chock your wheels after you are happy with how level you made your camper. Turn off your camper, set the parking brake, and set up your stabilizing jacks if you use them.
I have seen a Class B with blocks under three tires, but I admit that it’s a rarity to see them in use at all at regular campgrounds and RV resorts.
If you think automatic levelers are a must-have in your Class B, buy a model with hydraulic jacks built-in and part of the manufacturer’s warranty.
In any event, don’t let your hydraulic jacks lift your tires off the ground to get your camper to level without placing some blocks under those tires to provide some support.
If for any reason your jacks fail, you don’t want to damage your camper by having the entire RV fall several inches to the ground.
#6 – Class C Motorhome Leveling
The size and the number of slideouts of your Class C will determine how quick you can get your camper level.
Luckily, most newer Class C motorhomes come with automatic hydraulic levelers that make this task so much easier.
If you have an automatic leveler system, place blocks under each foot to protect your equipment and keep them from sinking into the ground. If your automatic system lifts any of the tires off the ground, place blocks under these tires for support.
For those of us who must manually level their Class C, blocks are the way to go. I began using a snap-together plastic block kit, but over time they would crack, and they also were tough to position our large tires on without rolling back off.
I use wood planks now and in three years have never had to stack more than two boards high to get my camper level. I also have a permanent bubble level indicator above my back tires and another on my back bumper.
You can also use a short one or two-foot level and place it along the bottom edge of your door trim for a front-to-back reading and the back bumper for side to side.
Set the blocks next to the low tires and roll out of the way. Then push the blocks into position either behind or in front of the tires and roll up onto them. Adjust blocks until you are level in both directions. Cut your engine, set the parking brake, and chock your wheels.
Now it’s time to open your slides. After your slides are open, set your stabilizer jacks until they feel tight. Don’t forget to add blocks under the jacks for stability.
#7 – Class A Motorhome Leveling
When leveling a Class A RV that has hydraulic jacks, you must never let the rear wheels leave the ground. Doing so will lose braking, and it’s possible the weight could bend a jack.
The beauty of a Class A motorhome is you should have plenty of space in your basement storage compartments to keep boards or leveler pads to help maintain safety while leveling your RV.
Place blocks under your leveler jack feet to keep them from sinking into the ground and more importantly get any tires that lift up in the air (especially those back tires!) onto a solid support.
For manual leveling, 2-inch by 10-inch boards cut to length work great. Wood boards can handle the weight of a Class A better than plastic.
Place the boards next to the low tires and pull your rig forward. Push the board under the tire and roll back onto it. Adjust the boards until your RV is level side to side and back to front. A level indicator on the rear bumper and one by the main door are perfect places for quick reference.
Once you reach level, turn off your RV, set the parking brake, chock your wheels, and then open your slides. Put down stabilizing jacks if you need them, placing blocks under them to prevent sinking.
Conclusion
Once you get into the routine you need to level your recreational vehicle, you’ll find it isn’t as hard as you think. Camping is meant to be a fun and relaxing experience. Keeping your RV in good condition and making sure it’s occupants are comfortable goes a long way in creating wonderful memories.
There are now level apps for your mobile phone if you find yourself in a pinch because you forgot to pack a level. These apps work if you use it correctly, but they do have some issues.
You can also check out this video that shows another neat method that combines a tool and an app to help you level your camper fast.
What tricks do you use to quickly level your RV? I’d love to hear about it in the comments below!