Preventing Frozen Pipes: Tips for RV Camping in Cold Weather
The cold season is here, and let’s face it—frozen RV pipes are a hassle nobody wants. Some RVers stash their rigs for winter or flee to warmer climates. But if you’re looking to brave the cold and want to know how to prevent RV pipes from freezing, you’re in the right place. We’ve got the top strategies to protect your RV’s plumbing system from Old Man Winter.
Run the Furnace
Space heaters are a smart choice for keeping the interior of your camper warm, especially since many campgrounds include electricity in their fees. However, they won’t do much for your RV’s water system. Most RVs have furnace ductwork running close to the water lines and tanks. When you run the furnace, this ductwork channels hot air directly to those crucial areas, preventing them from freezing.
So, if temperatures are below freezing, you’ll want to run your RV furnace in addition to, or instead of, your space heaters. Even running it on a low setting can make a big difference in keeping those water lines and tanks from turning into ice blocks. This holds true whether your RV has an enclosed underbelly or not.

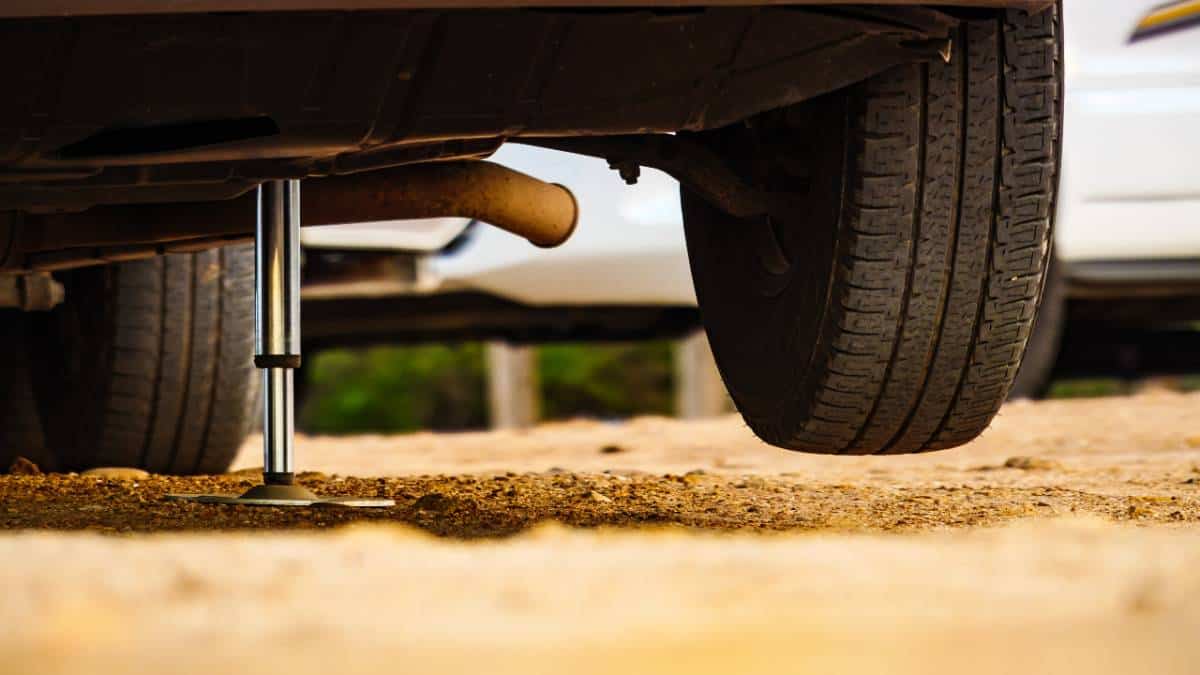
Heat the Underbelly
Don’t want to run the furnace constantly? Another option is to work to keep the underbelly of the RV heated another way. This option can also be used in conjunction with the RV furnace should you find yourself in extremely cold temperatures.
Not sure how to heat the underbelly? Some people do this by putting a work lamp or two under the rig. This keeps things rather toasty and thawed. You could possibly also use small space heaters under the RV. Just be sure whatever you choose can be used safely outdoors and in rain and snow.
Add Tank Heaters
Some RVs come equipped with tank heaters. If your RV doesn’t have this feature and you will be camping in the winter, you might want to consider investing in some.
As you might have guessed, tank heaters attach to the RV holding tanks and ensure everything stays warm enough to avoid freezing.
Install Skirting
Adding a skirt to your RV is a must for trapping heat around your water lines and tanks. It’s a twofer: you prevent pipes from freezing and get the bonus of warmer feet inside your RV.
When it comes to materials, you’ve got options, but they’re not all created equal. Here’s the breakdown:
- Hay Bales: Cheap and effective, but can attract rodents. Good for short-term use.
- Foam Board: Affordable and light, but less durable. May require extra weatherproofing.
- Plywood: Sturdy and long-lasting, but it’s heavy and can be a hassle to install and remove.
- Vinyl: Lightweight, easy to install, but can be less durable against strong winds.
If you plan to continue moving through the winter months rather than staying in one place, an easily removable skirt is necessary. In this case, we recommend inflatable AirSkirts or custom vinyl EZ Snap skirting.
Insulate Storage Bays
Another way to keep heat near your water lines? Insulate your storage bays! RV storage bays often are not well insulated, meaning you will lose a lot of heat through those little compartments.
The video below is a great example of how to insulate your storage bays to prevent heat loss.
Open Cabinet Doors
If you’re going through a particularly cold spell, you might consider running space heaters in addition to the furnace and then opening cabinet doors (especially those under sinks). This helps the warm air from inside the camper reach the water lines and pipes that run through the walls and cabinets and under the sink.
We usually open our cabinet doors before bed if it will be below freezing for more than an hour or two during the night.
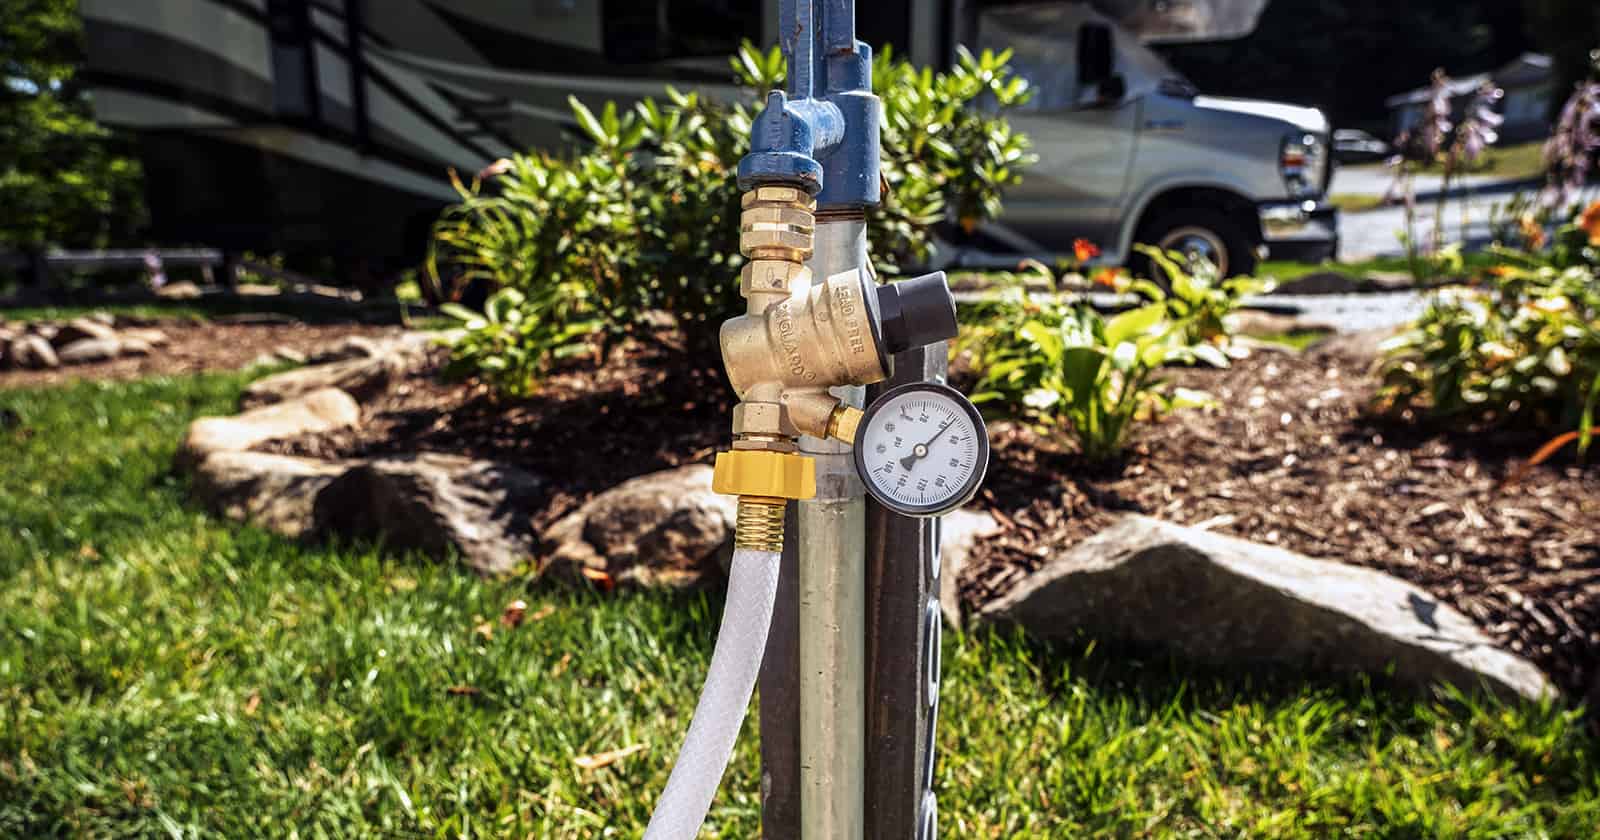
Use a Heated Hose
Keeping your tanks and water lines warm is a great start, and it will protect your plumbing system from damage. That said, if you want to keep the water running while camping in the winter, you will also want to use a heated fresh water hose or wrap your current hose in heat tape.
A heated hose stays nice and warm even when the weather outside is frightful, so you won’t have to worry about water freezing on its way into your home on wheels.
DIY Heated Hose Option
If you want to save a few dollars, you can build a heated hose yourself with material found at most big box stores or online, of course.
- Check Hose: Get out the hose, hook it up, and ensure it’s not leaking.
- Unroll Heat Tape: Grab the heat tape, unroll it, and start attaching it to the hose using electrical tape.
- Tape Guidelines: Wrap electrical tape around the hose and heat tape about every foot. Make sure the heat tape doesn’t overlap itself to prevent hot spots.
- Wrap Tightness: Wrap it tightly but not too tight to scorch the hose. Avoid making loops with the heat tape.
- Metal Surfaces: Ensure all metal parts are covered with heat tape to prevent freezing.
- Insulation: Add self-sealing insulation on top of the hose and heat tape. Secure it with electrical tape if needed.
- 90-degree Fittings: If you have a 90-degree water spout, they make specific insulation for that. Install it.
- Insulation Size: Opt for one-inch pipe insulation. It has a bit of wiggle room but still protects effectively.
- Optional Sewer Hose Coil: If you have extra heat tape, coil it around the sewer hose to keep it from freezing.
- Temperature Control: Place a short piece of insulation with some heat tape to regulate the temperature and avoid overheating.
If You Will Only Freeze a Couple of Nights
Another option? Fill the fresh water tank, detach the fresh water hose, and count on your underbelly heating methods, tank heaters, and skirting to keep everything thawed out.
Close Your Tanks
Another hose you don’t want to freeze is the sewer hose. If this happens and you don’t notice, you’ll likely end up with an overflowing tank of water that has nowhere to go but on your RV floor. For this reason, you will definitely want to leave both waste tanks closed until you need to empty them and then close them as soon as you are finished dumping.
Consider Winterizing
Our final suggestion is to go ahead and winterize the RV water system. Blow out the water lines or fill them with RV antifreeze. Dump some antifreeze in the tanks, and then count on bottled water to get you through your winter camping trips. (Personally, we’ve had decent success with getting some gallon water jugs from the store and refilling them at Walmarts and other places with refill machines.)
This might make things less convenient, but it’s a surefire way to protect your RV’s water system no matter how cold it gets outside.
Ready to Head Out?
In conclusion, if you’re determined to conquer winter RVing, protecting your water system from freezing temperatures is non-negotiable. From running your RV furnace to considering a DIY heated hose, you have a gamut of strategies at your disposal. Whether you opt for tank heaters or traditional skirting, the goal remains the same: ensuring your RV’s plumbing survives the winter chill intact. If you mix and match these methods effectively, not even Old Man Winter will deter your adventurous spirit. So, don your thermal socks and keep on camping—the frosty air is no match for a well-prepared RVer.