Taking the time to maintain your RV’s lithium batteries makes a difference both in terms of their longevity and the cash in your bank account. Fortunately, lithium batteries are the lowest maintenance batteries on the market. Flooded lead-acid and AGM batteries aren’t even in the same ballpark.
Lithium batteries operate far differently from their lead-acid and AGM cousins and also tend to be much more expensive. For instance, a Renogy 12A 200Ah AGM Deep-Cycle Battery sells for about $350, while the same lithium version sells for about $800. That’s a pretty big disparity. It’s also a heck of a motivator.
Investing such an amount underscores the importance of maximizing their utility. In renewable energy applications, especially for boondocking and off-grid living where reliable energy sources are crucial for comfort, the emphasis on proper maintenance of lithium batteries cannot be overstated.

Understanding Lithium Batteries
Lithium batteries differ significantly from traditional flooded lead-acid and AGM (Absorbed Glass Mat) batteries, which include gel and absorbed glass variants.
- Lithium batteries come in two types: lithium-ion and lithium-iron phosphate (LiFePO4).
- Both are completely sealed, which eliminates the off-gassing common with flooded lead-acid batteries.
- Within these batteries, lithium ions move between the anode and cathode, traveling through a solution of lithium salts. This efficient flow contributes to their high power density. Lithium-ion batteries, in particular, have a higher power density, while LFP batteries are more affordable and commonly used in electric vehicles (EVs).
- They are lighter, more portable, and can fully discharge without damage.
- Their light weight is particularly beneficial in RV and marine applications, optimizing power resources without heavily impacting the Gross Vehicle Weight Rating (GVWR).
- Lithium batteries outperform AGM and flooded lead-acid batteries in terms of lifespan. They require less maintenance, but it’s crucial to maintain them properly to maximize their life and efficiency.
- Given their lightweight, long lifespan, and high energy density, lithium batteries are particularly suited for RV applications, solar energy storage, boondocking, and off-grid living.
- The primary drawback of lithium batteries is their higher upfront cost compared to traditional battery types. However, their long-term benefits and superior performance often justify the investment.
Keeping Your Batteries Dry and Clean
Lithium batteries are designed with a seal that’s supposed to keep water and vapor out, and for very good reason. Lithium and water combine to create a potential fire hazard. The kind you cannot put out with water and requires a Class D fire extinguisher.
When water and lithium meet, they form a new substance—a combination of hydrogen and lithium hydroxide. The substance isn’t as flammable as gasoline or lighter fluid, but once it gets going, it’s much like a grease fire. You have to smother it rather than put it out with water.
With that being said, the most important safety precaution is to never set up your battery bank near a source of moisture. In the bathroom or under a sink are terrible ideas. Treat lithium batteries like you would dry goods. Place them in a clean, cool, dry environment and ensure the surrounding temperature never exceeds 149 °F (65 °C) or drops below -10 °F (-23.33 °C).
Insulation and temperature control are preferred, but you don’t want to place them in a tight, enclosed position with zero ventilation either. When batteries charge, they tend to get pretty warm, and this is especially true in a battery bank with nowhere for the heat to go. To properly maintain your RV’s lithium batteries, keep them clean, cool, and dry.
Properly Cleaning Lithium Batteries
The good news is lithium batteries are the most resilient of the battery types available for RVs. Resiliency means you get to spend less time trying to maintain your RV’s lithium batteries and more time enjoying your vacation on the road. It doesn’t mean you don’t have to do anything, however. Self-maintaining lithium batteries would be a hoot, but unfortunately, we’re not there yet.
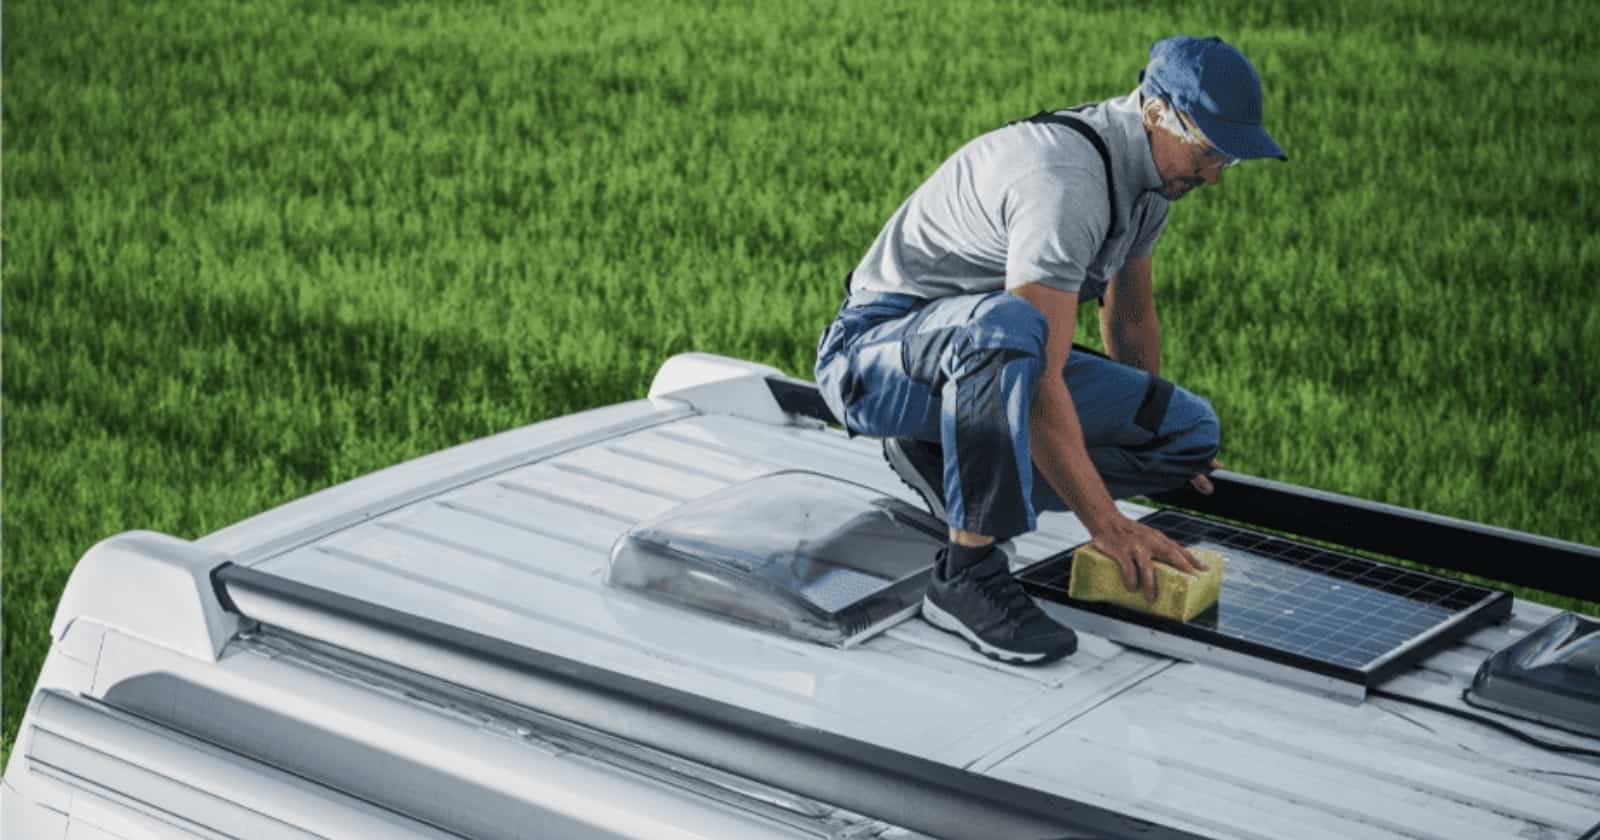
For maintaining your lithium RV batteries, a less frequent maintenance routine is generally sufficient due to their low-maintenance nature. Periodically, perhaps every few months or as needed, visually inspect your batteries. If you notice dust or dirt, gently clean the surface of the battery, avoiding the use of moisture as much as possible. A dry cloth is usually adequate for this.
In the rare event you observe any corrosion, especially around the terminals, a cloth lightly dampened with rubbing alcohol can be used for cleaning. Be cautious not to saturate the cloth. If corrosion is a recurring issue, it may be worth assessing the storage environment of your batteries to ensure it’s dry and well-ventilated. Regular checks and cleaning when necessary should keep your lithium batteries in good condition.
Avoid Overcharging
Overcharging lithium batteries causes a whole host of problems, including thermal runaway and increased pressure. Fortunately, there are some built-in safety protocols on all lithium batteries (at least the ones manufactured and purchased from reputable lithium battery manufacturers).
The first safety feature is a protection circuit. Its job is to keep the battery from experiencing a pressure build-up and excessive temperatures. The second is a battery management system, which opens the circuit to avoid overcharging. There are three stages of charging with lithium and other types of batteries.
These include bulk charging, absorption charging, and float charging. Bulk charging pushes the battery to 90% capacity. Absorption charging finishes the remaining 10%, while float charging is more of a maintenance charge, maintaining the battery at 100%. This is known as the State of Charge (SoC). Depth of Discharge (DoD) is the reverse of State of Charge (SoC), with 0% DoD indicating the battery is fully charged and 100% DoD describing the battery as completely discharged or in an empty state.
It’s not hard to prevent overcharging. If your RV’s electrical system is in tip-top shape, most of this process takes care of itself. Ensure that the battery you purchase has a battery management system and a protection circuit. The charging process for a lithium battery is constant -current/constant voltage. As long as the battery is charged with a matching Ah and voltage, it will be fine.
Regular Discharging and Avoiding Short Circuits
Lithium batteries, known for their robustness, are well-suited to handle deep discharge cycles. Unlike some other types of batteries, lithium batteries (including lithium-ion and LiFePO4 types) do not suffer significantly from deeper discharges. While shallow discharges can slightly extend the total number of possible charge cycles, lithium batteries typically allow for deeper discharge up to 80% of their capacity without major degradation.
Every lithium battery comes with a list of specifications, including its rated Depth of Discharge. The manual will also tell you how many cycles the battery will sustain at the rated DoD. Pay close attention because the numbers are important. Internal short-circuiting is, thankfully, a rare event, especially if you routinely maintain your RV’s lithium batteries.
There are generally three types of short circuits: thermal, mechanical, and electrical. Thermal is often caused by thermal runaway, which is only a problem in lithium batteries that utilize cobalt. Fortunately, it’s hard to find lithium batteries that contain cobalt in marine and RV applications today, so you can avoid them by simply not using or purchasing them for use in your RV.
Further, it’s crucial to use a charger specifically designed for lithium batteries to prevent electrical short-circuiting. These chargers are tailored to the specific needs of lithium batteries, ensuring the correct balance of voltage and amperage for safe and efficient charging.
Last but not least is the mechanical short circuit. This is the simplest one to avoid because it involves physical abuse of the battery. That’s why it’s important to store the batteries in a safe place. If you’re on the move and brake hard, causing something to slide into the lithium battery, you can cause a mechanical short circuit by puncturing the diaphragm of the battery.
Common Problems and Troubleshooting
“Common problems” probably isn’t the best terminology since lithium batteries are the most dependable of the bunch. However, they do have issues that crop up from time to time, many of which are caused by user error or some exterior fault rather than the battery itself.
- Issues with appliances not running or not running well in the RV
- Batteries dying quickly
- Low voltage
- Wiring and connection problems
- Issues with shore power or converter
- Additional associated systems
We covered it above, but it’s worth mentioning again. Proper and routine preventative maintenance goes a long way, especially when it comes to avoiding any of the above issues in the bullet points. To maintain an RV’s lithium batteries, you also have to maintain the system surrounding those batteries, which includes your inverter, converter, battery isolators, switches, and disconnects.
Potential Issues and Solutions
For instance, if your batteries are dying quickly and you’re on shore power, the converter is a good place to start troubleshooting. The converter takes the alternating current from shore power and converts it to Direct Current (DC) for charging the batteries. When the converter isn’t doing its job, the batteries won’t charge.
If you’re new to RVing and have a 30-amp or 50-amp setup, you’ll need an extensive battery bank to run your AC appliances, especially air conditioners, refrigerators (without propane functionality), microwaves, space heaters, etc. If your appliances aren’t running correctly or at all, you may simply lack the battery bank necessary to handle the power consumption.
Remember, some of these appliances draw much higher when they kick on than when they are steadily running. Wiring and connection problems are issues you’re likely to run into when purchasing used and un-inspected RVs and brand-new RVs (that’s what that shake-down period and the warranty are for). Unless you are a Journeyman Electrician First-Class (maybe you can get away with 2nd or 3rd), it’s best to leave that up to a professional.
Aging batteries, faulty wiring, a bad converter, or internal damage are all leading indicators. Whenever you are completely lost or dealing with Alternating Current (AC), seek professional help. DC will give you a little kick and wake you up in the morning, but AC will put you in the hospital or take your life. If you don’t understand it, don’t mess with it.
Always ensure that you disconnect the power source before you start manipulating anything like wiring, the batteries, your converter, an inverter, or any other component that may involve AC voltage.
Conclusion
Maintain your RV’s lithium batteries, and you’ll have an extensive power source for a long time. Lithium is the pinnacle of the RV, Marine, Industrial, and EV market right now. Industry specialists are currently hard at work on new iterations of lithium batteries as well, by eliminating thermal runaway and mechanical short circuits.
Lithium batteries are expensive, but the value extends well beyond the purchase, and you’ll spend less in the long term than you would by purchasing inferior batteries. Establish a routine, install your battery bank in a cool, dry, and safe environment, and avoid discharging them beyond 30%, and you will have dependable batteries for thousands upon thousands of cycles. Sound pretty good? It definitely is.


Since many RVs have the original House Battery bank under the steps that is not a clean, dry, or cool environment. So HOW do it retrofit my RV from 6v AGM batteries to Lithium and re-use the existing wiring going to under the steps. What inverter (charger) do I used instead of my present one?
May NOT be able to convert until prices come down if at all due to these concerns.
Howdy Donald,
It is possible to get a lithium battery size that fits a 12V lead acid area. However, you are correct that the exposed nature of the area does make it a little more temperature and element exposure prone. Many people find they have to do a little rewiring.
I just got a brand new 2023 Thor Hurricane and had two 200ah lithium batteries installed professionally. They drilled into the compartment next to the battery one and ran wires. Previously, I had installed the same batteries in my 2011 Itasca Sunstar. For that, I actually had wires going into a compartment that powered a broken inverter. So, I removed the old batteries from my under-step compartment and wired my coach up through the wires already coming through the storage compartment.
For your converter, it’s essential to replace the existing one that’s designed for AGM batteries with a lithium-compatible converter. Lithium batteries require a specific charging profile, which is different from AGM or lead-acid batteries. A suitable lithium battery converter will ensure that your batteries are charged efficiently and safely. Brands like Progressive Dynamics and WFCO offer converters that are specifically designed for lithium batteries. These converters will provide the correct charging algorithm to maximize the life and performance of your lithium batteries.
I had to have them install a new converter on the new rig and I installed one myself on the old one. If you want to know a little bit more about that, I just wrote a piece for RV LIFE where I reviewed a couple of batteries sent to me. It’s a sponsored post for the battery company however I do go into how I made them work in my old rig and there’s a couple of photos.
You can read that here: https://rvlife.com/goldenmate-lithium-battery-review-boost-your-rv-power/
When rewiring, it’s good to note that the existing wiring can often be reused, provided it’s of the proper gauge to handle the current. Lithium batteries are generally more efficient in terms of energy delivery, which might even mean less strain on your wiring setup.
So – you spend a small fortune on the batteries, change the wiring, install the new pricey converter and now you have to rebuild your RV to make sure they have better living conditions than you have , make sure they are dusted and cleaned and even kissed goodnight. SO my question is- when do get to enjoy your RV after you have emptied your wallet and mortgaged the house for the newest and greatest battery so it can possible start fire and burn your
very expensive RV down? I have two six volt batteries that run all the stuff I need when boondocking – remember boon docking it means you should not take all of the stuff from your house into your RV to enjoy yourself. What a scam to extort more money from the idle folk, us we like to use our RV and if the batteries start to lose an little after three or four day, I simply plug my 65 pound Honda GenSet in and charge em for two hours- problem solved
Hey there! I totally get where you’re coming from. They can be a hefty investment, and it might seem like a lot of fuss for something that’s just supposed to power your adventures. It’s true, the old-school way of boondocking with simpler setups has its charm and simplicity. However, larger solar setups, lithium batteries and larger inverters are an investment that some feel is worth the cost.
Your approach with the six-volt batteries and the trusty Honda GenSet? Totally valid. It’s all about what works best for you and your RV lifestyle. I myself just switch over to lithium after living full-time in my RV for 9 years and rocking lead acid and no solar. Lithium batteries are definitely a luxury option rather than a mandate. They’re like the latest smartphone – not everyone needs it, but it is an option for those who want the latest. No need to mortgage the house for the latest tech if the good ol’ basics do the trick for you.
So, enjoy your RV in the way that suits you best. After all, it’s all about hitting the road and making great memories, right? Safe travels!