It’s tough to come up with a statement that applies to all RV owners, but if we had to we’d say this: they’re always up for a project. It takes a certain type of spirit to be able to pack your life into an RV and maintain a home on the road. Even if you don’t have much practical know-how, you need to have an openness to new experiences and a love of learning to make the motorhome life work for you.
So it’s no wonder that RVers are always on the lookout for their next DIY project. Luckily, it seems like there’s never a shortage of improvements to be made to an RV. Whether it’s routine maintenance, an equipment upgrade, a big repair, a minor touch-up or just a fun new addition, your next RV project is bound to be an educational and rewarding experience.
Want to replace your worn-out RV awning or beat-up window screens? How about sealing your roof before the rainy season arrives? Read on to learn more about these easy projects and turn your next DIY dream into reality!

Off and Awn: How to Replace Your RV Awning
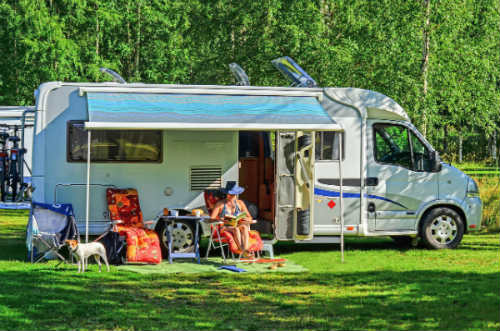
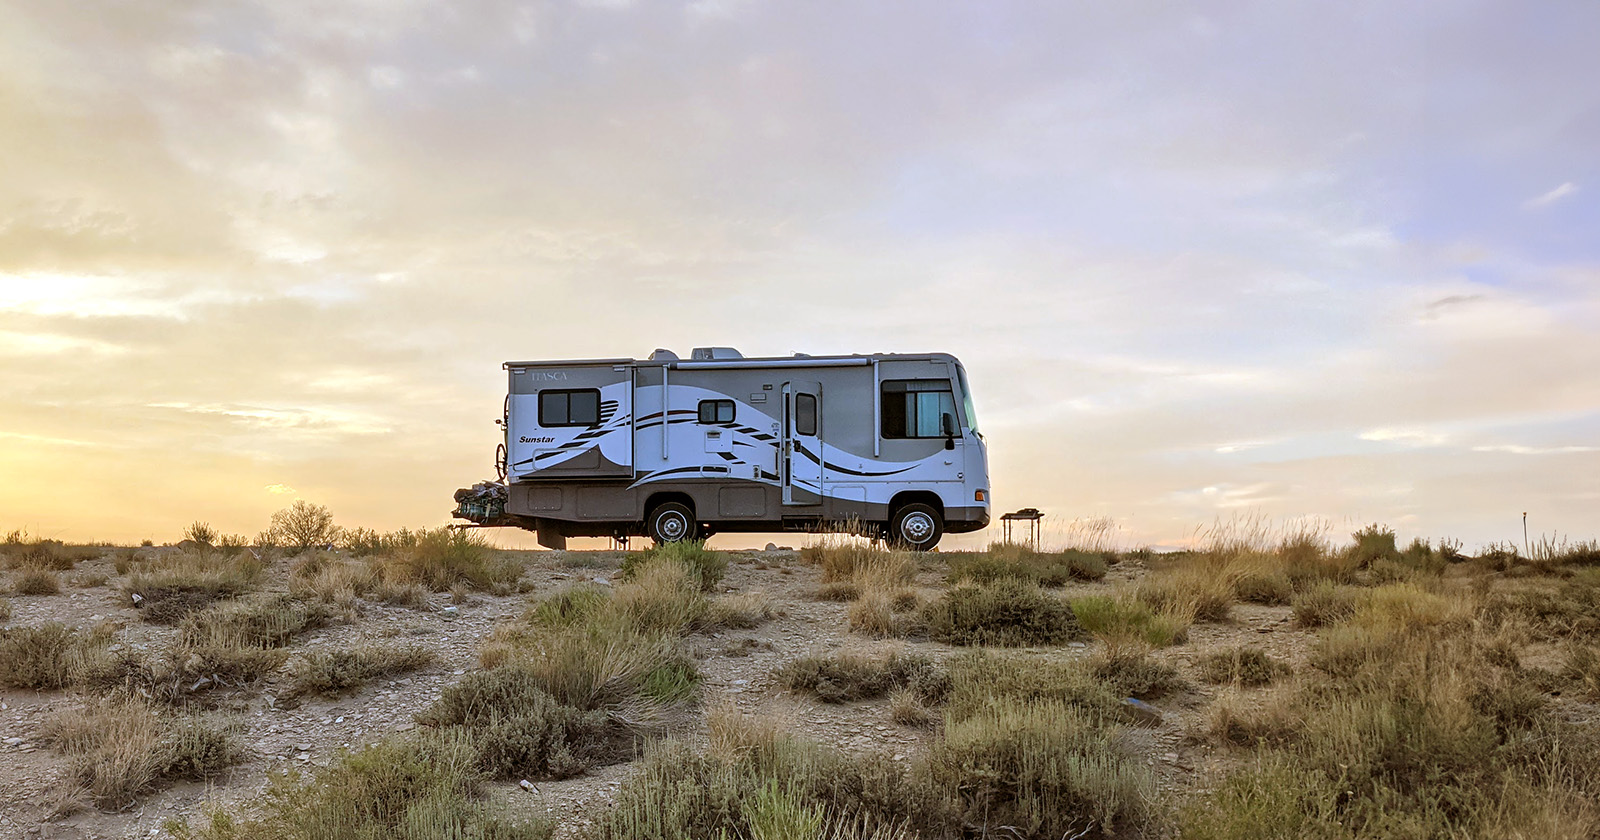
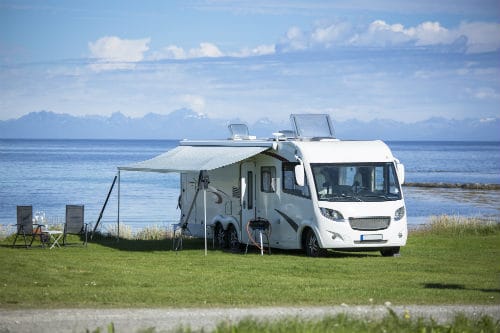
There’s nothing like pulling up to a beautiful park on a sunny day, rolling out the awning and relaxing in the shade on your portable patio. But if it’s been a while since your last awning overhaul, chances are it’s due for a makeover before you can use it again. If the awning fabric is torn, stained or mildewed, don’t take it to the shop just yet – with a few hours’ time and a little help from some friends, you can install a brand-new awning on the cheap!
#1 – Safety First
The awning assembly contains high-tension springs that have the potential to cause severe injury if broken or mishandled. If you’ve never worked with tension-loaded springs or aren’t comfortable doing so, it’s best to leave this task to a professional. Should you choose to do it yourself, make sure everyone you’re working with is aware of the springs and treats them with caution.
#2 – Gathering Materials
To replace your RV awning fabric, you’ll need the new awning, of course. Awnings come in many different colors and patterns; you can pick whichever one catches your fancy so long as it’s the right size for your RV. You can measure the existing awning yourself or check with the manufacturer to ensure that the new awning’s dimensions are correct for your make and model.
In addition to the awning itself, you’ll need both Philips and flathead screwdrivers or a cordless drill, a wrench, a permanent marker, silicone lubricant, a pop riveter and needle-nose vise grips. The type of screwdriver and size of wrench will vary based on your specific RV; check before you get started to make sure you have the right tools. You’ll also need a stepladder in order to reach the top of the awning assembly and at least two helpers to get the job done.
#3 – Removing the Awning
Head up the stepladder with your wrench and screwdriver or drill so you can access the top of the awning track. Remove the bolts that secure the awning rafter and legs to the RV on each side, then remove the screws that attach the awning fabric to the track. Use a flathead screwdriver to pry one end of the track open; this way, it will be easier to slide the awning out.
With one of your helpers, release and extend the awning legs from the brackets that secure them to the RV. Prop them on the ground and unroll the awning about 1 foot.
Have one person lift each awning leg and slide the awning out of the track, moving towards the pried-open end of the track. If the fabric sticks in the track, the remaining person can help by tugging the middle of the awning. Once the awning is out of the track, lay it gently on the ground.
#4 – Removing the Spring
Locate the small plastic cap on the left end of the roller tube, pry it off and insert a Philips screwdriver into the hole to lock the spring in place. Then remove the leg on the right side of the tube by loosening the bolt that secures them together. Set the leg aside and reinsert the bolt into the bracket on the tube.
Clamp your vise grip on the bolt and lift it; this releases pressure. Move the awning control lever to the “roll-off” position and start turning the vise grip clockwise, unrolling the spring. Count the rotations out loud and have one of your helpers write them down – you’ll need to return the spring to its exact original position once the new fabric is on, so remembering your rotation count is crucial.
With your permanent marker, mark the control lever’s position on the roller tube so you can put it back on correctly later. Remove the pop rivet screws that secure the end cap to the roller tube – there will be two on opposite sides from each other, so have your helpers rotate the tube to allow you access to them. Once the pop rivets are off, pull the end cap away from the roller tube; the spring assembly is attached to the end cap and will come out as well.
#5 – Removing the Fabric
Have your helpers lift the tube at each end and assist you in unrolling the fabric from the tube. Before removing it completely, take note of the two channels on the tube that it’s inserted into; mark them with your permanent marker. Then slide the fabric off the tube.
Spray silicone lubricant into the two marked channels on the tube, then slide your new awning fabric into them. Slowly pull it along the length of the tube, ensuring that it doesn’t bunch up or become misaligned as you do so.
With one person at each end, lift the tube and roll the fabric onto it. Have the third person stand in the middle to even out the fabric as it’s rolled.

- FABRIC FOR RV AWNINGS: Replace your old, worn-out RV awning...
- DURABLE VINYL CANOPY: Built for the great outdoors! ShadePro's 13...
- MADE FOR YOUR AWNING: Designed to fit most RV awnings without...
- SIMPLE TO INSTALL: Easy, breezy setup! No need for special tools....
- SHADEPRO: Helping RV enthusiasts optimize their rigs and travel...
#6 – Reinstalling the Awning
Reinsert the spring assembly and end cap into the roller tube, aligning the control lever with the mark you made on the tube before removing the end cap. Replace the pop rivets, again enlisting the assistance of your helpers to rotate the tube. Clamp the vise grip onto the end cap bolt and rotate it counterclockwise, making the same number of turns as you made when loosening it.
Pop the awning leg back into the bracket and secure it with the bolt. Then go back to the left end cap, remove the Philips screwdriver and replace the cap.
Spray silicone lubricant along the awning track on the RV to make reinsertion easier. With one person holding each leg and the third person in the middle, slide the awning back into the track starting at the same end you slid it out of. Once it’s on, reattach the legs to the RV and unroll the awning a few times to ensure that it’s smooth and even.
When you’re satisfied with the position and tautness of your new awning fabric, reinsert the screws that hold it to the track and replace the bolts that hold the rafter to the RV. Congratulations – your awning replacement is now finished!
Product data was last updated on 2024-04-25 at 20:25.