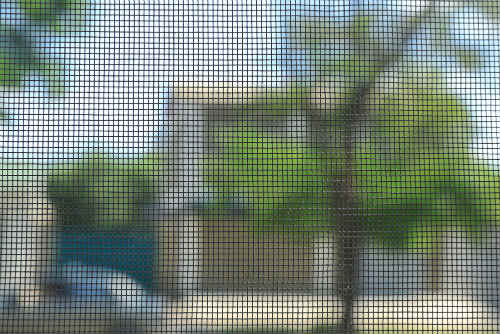
Window screens are essential components of your RV: without them, you wouldn’t be able to open your windows and enjoy the fresh air without inviting a flurry of bugs and debris inside. But all it takes is one hole for a window screen to stop doing its job. Whether it’s been torn by a cat, received damage during a storm or simply exhausted its lifespan, your old window screen can be easily replaced in less than an hour – just follow this guide!
What You’ll Need
You’ll need a new roll of window screen; the exact type you choose will depend on your personal preferences. Some are lightweight and nearly invisible while others are densely woven to block heat and provide privacy. Many RVers like polyester screens for their durability, but others prefer aluminum or fiberglass screens as they’re easier to install.
Aside from the new screen, you’ll need a few simple tools:

- a putty knife
- a flathead screwdriver
- a razor knife
- a spline roller
You’ll also need some new PVC spline – a thin, rubbery, gasket-like material that holds the screen in the frame.
Removing the Old Screen
Pop the screen frame out of the window and lay it on a flat surface. Some frames have latches that release the frame when compressed while others simply lock in place. If the frame is stuck, try using a putty knife to pry it out.
Insert your flathead screwdriver into the groove of the frame and scrape out the existing spline. Once all the spline has been removed you should be able to pull the screen out of the frame with little resistance.
Installing the New Screen
Take your new screen and unroll it over the frame. You’ll want to position it such that there’s around least half an inch of overhang on each side of the frame. Cut the screen with your razor knife and make a small 45-degree incision at each of the corners to neaten the insertion.
With your spline roller at hand and starting at one of the corners, align the PVC spline with the frame groove and push it in. Keep the screen taut with your other hand as you roll the spline tool down the length of the groove. When you reach the end of the side, cut the spline with the razor knife.
Repeat this process for the other three sides. The screen will become tighter and tighter as you go along. Once you’re finished, trim any excess screen with your razor knife.
Your new screen window is ready to be reinstalled in your RV. Pop it back into place, using a putty knife for leverage if necessary. Voila – you’re now free to enjoy a fresh breeze in your RV while keeping unwanted critters outside where they belong!