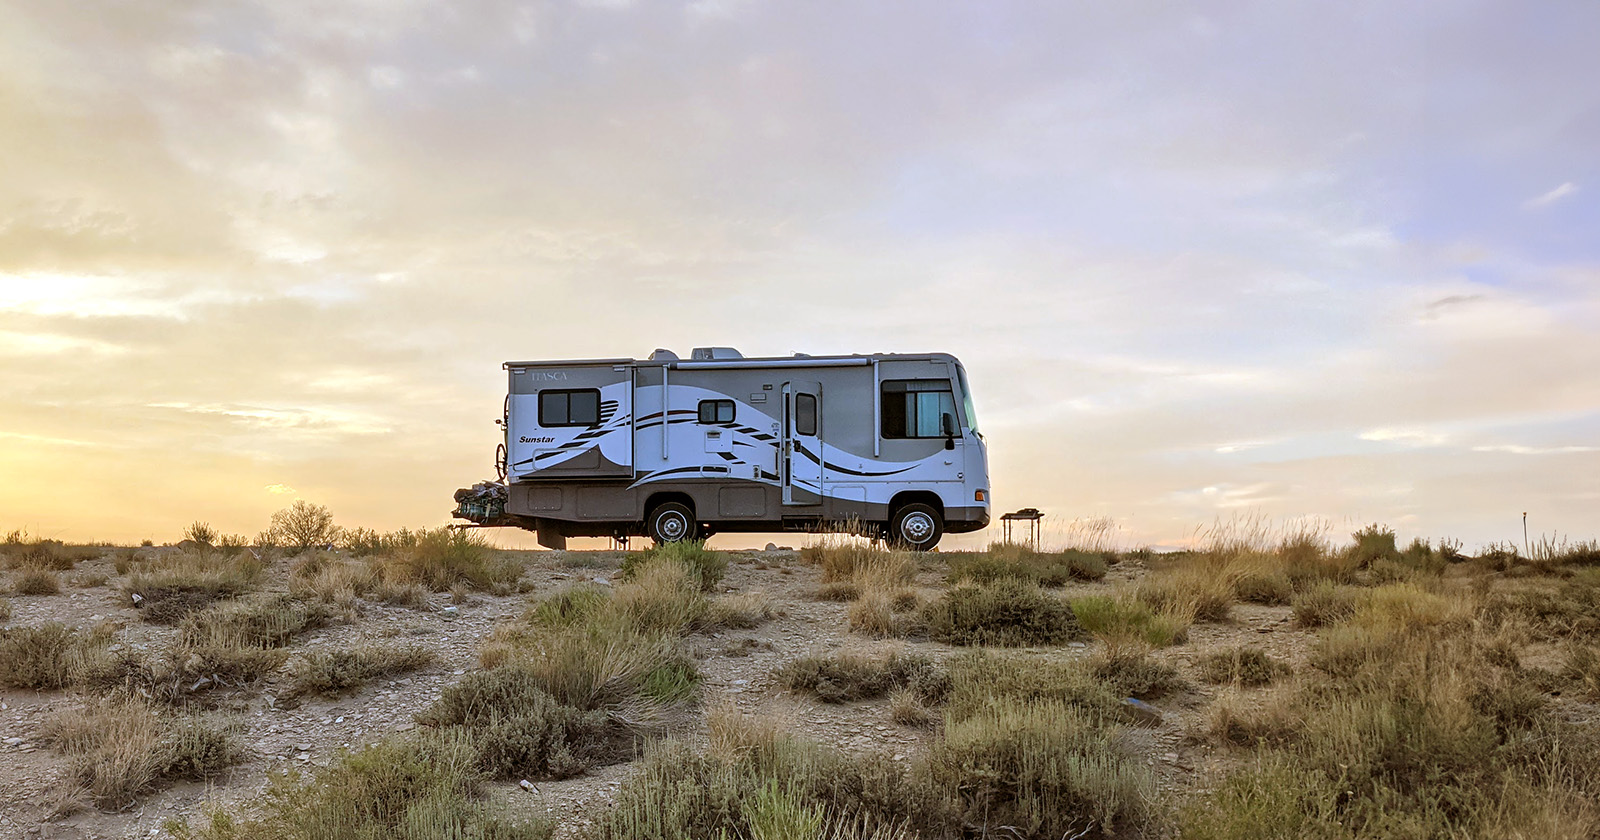
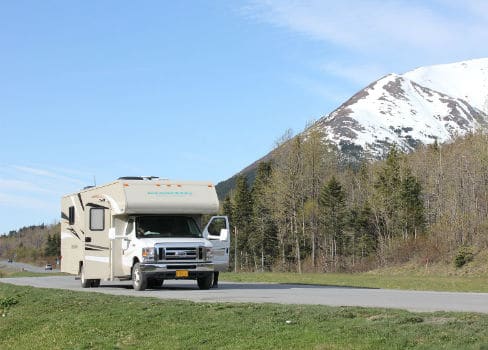
Everything in an RV depends on the battery to function. Without a properly functioning source of power, an RV loses its status as a hotel on wheels.
However, just like any other battery, an RV battery can lose power or need to be recharged. Knowing how to charge it will allow you to enjoy all the benefits that come with RVing.
There are four ways that you’re able to charge your RV’s deep cycle battery:

- While driving, your alternator will charge your RV battery
- When you’re connected to shore power, your converter will trickle charge your RV battery
- When you run your generator, you’re also charging your RV’s deep cycle battery
- And finally, you can opt to go green and use solar power
Your RV’s stock converter — which converts 110 volt AC power (aka shore power or generator power) to 12 volt DC power — is generally a weak charger and can only trickle charge your battery.
Be advised that if your battery is below 50% capacity, 8 hours or more could be needed using your stock RV converter. You could upgrade to a 4-stage smart charger to charge faster — usually around 2 hours for a full recharge. External smart chargers go for around 50 dollars, whereas a complete internal converter overhaul could cost you upwards of 500 dollars.

- ✅【Upgraded Intelligent Charger Controller】Built in internal...
- ✅【Comprehensive Battery Protection】 Solar car battery...
- ✅【Stronger and More Long-lasting】 The solar car charger...
- ✅【Easy to Install and Use】 The outdoor solar battery...
- ✅【Scratch Protection Design】 The ABS+PC frame is stronger...
What Is an RV Battery?
Basic batteries are simply devices to store electrical power. They cannot generate their power but can hold it for later use by storing it in chemical form. Because they only store power, they will need to be recharged once they are depleted.
Why Do You Need an RV Battery?
In your RV, the battery runs all 12V systems and appliances in the coach. It can also run kitchen appliances such as a microwave, coffee maker, and toaster when an inverter is used to convert the 12V DC battery into 120V AC. Doing this will cause a high power demand and drain the battery quicker than just running 12V devices.
The house or coach battery is different from the battery used to start the engine of your RV. It is designed to run for a longer period, so you can use the amenities while dry camping or boondocking (camping without hookups).
Battery Ratings and Sizes
Most manufacturers will indicate the amount of power that a battery can store in amp-hours (Ah). An amp is a unit of electrical current. So an amp-hour is a measurement of current over time. Most 12V devices will state how many amps it takes to run them. If you have a 100Ah battery, you can power a 10 amp device for about 10 hours.
Remember that you should not drain lead-acid batteries more than 50% regularly, so it is not good to consistently use more than 50Ah from a 100Ah battery.
Batteries are also sized and usually have standard sizes.
You may have heard common terms like a “group 24 battery” or “type 27 marine battery.” These numbers are referring to the Battery Council International, or BCI, Group Number of the battery. These numbers define the physical dimensions of the battery case. This is important as some applications call for specific case sizes.
While the BCI does not determine the Amp Hours (AH) rating for the batteries, there is a correlation between case size and AH rating. For deep cycle batteries, the larger the case size the more capacity the battery will usually have.
BatteryStuff.com, See URL – https://www.batterystuff.com/kb/tools/bci-battery-group-sizes.html
# 1 – Example Sizes for Batteries:
- Group 24
- Group 27
- Group 31
- Group 4D
- Group 8D
Look on the battery’s side for a sticker that will tell you the specifications for that particular battery.
When you purchase a new RV, it will usually come with a Group 24 or Group 27 size battery. It could have a single battery or two batteries.
#2 – Understand Voltage
Volts are a measurement of electrical potential. Think of volts like water pressure in a hose, only for electricity. It isn’t necessary to have an electrical engineering degree to use a battery, though.
The important thing to know is that an RV’s DC system requires its batteries to provide between 11 and 13 volts to function. This can be in the form of a 12V battery or two 6V batteries wired in a series.
![ExpertPower 12v 33ah Rechargeable Deep Cycle Battery [EXP1233 ]](https://m.media-amazon.com/images/I/31eYTwHWf2L.jpg)
- Genuine ExpertPower Battery - The Most Trusted And Highest...
- Battery Type - 12 Volt 33Amp/10 Hour Sealed Lead Acid Battery
- Quality Assurance - Crafted Wtih A Rugged Construction, Our SLA...
- User Friendly - Easy, One-Time Installation Of Our Maintenance...
#3 – What Is a Battery Bank in an RV?

You get a battery bank by joining two or more batteries together. By connecting several batteries, you will get access to greater amounts of voltage or capacity (depending on the connection) for times when you need more power than a single battery can provide.
The minimum for an RV is usually a single Group 24 battery with about 70Ah, while some higher-end or luxury RVs can have a group of four Group 8D batteries to provide more than 1,000Ah.

- Commercial Grade - Designed to accommodate a single group 8D...
- Rugged Design - Four corner fastening system and captive lid for...
- Designed for Rugged Environments - Impact-resistant down to minus...
- Keeps your Battery Safe - Limits water entry, effectively...
- Certified and Tested - Meets United States Coast Guard (USCG)...
#4 – How to Join RV Batteries
To connect RV batteries in a series, use a jumper wire to connect the batteries. Connect the negative terminal of the first battery with the positive terminal of the second one. The remaining positive and negative terminals should be attached to the load; the positive from the first battery to the positive load, and the negative of the second battery to the negative load.
Each battery used should have the same voltage and amp rating, so they are compatible. Two 6 volt RV batteries will provide 12 volts without changing the capacity when connected in series. In other words, two 6V 100Ah batteries wired together in a series will make a 12V 100Ah battery bank.
Create a parallel connection by connecting the two positive terminals with the two negative ones. A parallel connection battery bank will provide a greater capacity while keeping the voltage the same. So joining two 12 volt 70Ah batteries in parallel will create a 12V 140Ah battery bank.
Note: Don’t mix and match batteries when creating a battery bank. Instead, use the same brand, type, voltage, and Ah rating to avoid any problems.
#5 – Charger Sizes and RV Banks
Before purchasing new batteries, make sure the charging system that came with the RV is big enough to charge the new batteries. This will prevent you from purchasing batteries that can’t be charged or require an upgrade to a larger charging system.
#6 – Stand Alone Chargers: Single Stage and Multi-Stage RV Battery Chargers
Many older motorhomes and cheaper trailers are equipped with single-stage chargers. They charge the battery by pushing a constant voltage into the battery at all times.
There are a couple of problems with this type of charger. They are not very efficient, which can increase charging time, and they keep pushing the higher fixed voltage into the batteries even after they are fully charged.
A multi-stage charging system optimizes the charging current based on three stages: the bulk, absorption, and float stages.
#7 – Stages of a Multi-Stage Charger
Multi-stage chargers usually have three states: bulk, absorb, and float.
The bulk stage is used to quickly charge a battery from a very low state to about 60-80% charge. The charger does this by giving the battery as much current as it possibly can.
The charging voltage in the absorb stage will remain constant, but as the battery’s state of charge increases, the current will slowly decrease. The battery now needs less current to maintain its voltage level as it continues to charge and absorb as much current as it can.
In the final stage, the float stage, the battery is almost fully charged, so the charger changes and maintains a lower voltage. This lower voltage slowly finishes charging the battery and helps maintain that charge once it reaches 100%.
#8 – Turning off a Multi-Stage Charger Early
A multi-stage charger can be turned off at any time while the battery is being charged. Although the battery will be more charged than before, it still won’t be fully charged.
At this time, the battery will settle to its internal voltage, and that level can change. Ideally, it will be a higher voltage than before the battery was charged. However, if the battery does not get charged enough, it could be lower than you expect.
If you plug the multi-stage charger back in to finish charging the battery, it will usually start the entire charging process from the first stage, bulk, and move through the rest of the cycles. Some of the more advanced chargers will detect the battery’s state of charge and adjust its charging stage accordingly.
#9 – Equalizing Using a Multi-Stage Charger
Some multi-stage chargers also have an additional stage for equalizing wet cell batteries—more on this in a later section.

- Package Weight: 0.31 pounds
- Country of Origin : China
- Part Number: 2024-07
#10 – Long-Term Charging with a Multi-Stage Charger
Instead of plugging your RV into an outlet to maintain a charge, a multi-stage charger can also be used as an alternative. Many multi-stage chargers vary in the way they manage this kind of charge, though.
Some will maintain the voltage at the float stage indefinitely. Others may start over and cycle through the bulk and absorb stages several times. If your multistage charger is also listed as a battery maintainer, it is okay to leave the charger on it for long periods to maintain its charge and keep the battery healthy. Be sure to check the water level in the battery at least once a month to ensure it doesn’t dry up.
What Is Battery Sulfation?
RV batteries need to be constantly monitored to check how much power is available. If the battery falls too far below the necessary voltage, sulfation can result. Sulfation can also happen if your battery never gets a full charge.
This is when lead sulfate crystals build up and cause problems in the battery. Sulfation can result in longer charging times or battery failure.
Reversible sulfation can be remedied by having someone do a controlled overcharge to dissolve the crystals. However, it’s best to consult a professional to ensure it is done correctly and will effectively return the battery’s full functionality.
Prevent sulfation by ensuring you don’t drain your battery past 50 percent regularly and charge the battery entirely whenever possible. If you are storing your battery, you will want to keep it charged up by plugging in your RV or hooking it up to an external charger.
A better solution is to switch to lithium-ion batteries, which don’t have this problem. They are, unfortunately, a lot more expensive.
#1 – Maintenance of RV Batteries
To prolong the life of your battery, it will need to be regularly maintained. If you take good care of your battery, it may last up to 5 years.
You may want to remove the cables and clean the connections periodically if there is corrosion or build-up. You can use baking soda mixed with water and scrub any residue with a wire brush before wiping it down with a cloth.
Don’t forget to check the water level of the battery, depending on the battery type. Wear eye and skin protection to avoid getting any battery acid near sensitive areas of your body.
Whenever you unplug the battery cables, always wear gloves and remove the black cable (negative) side first before the red cable (positive side). Then replace the positive cable followed by the negative one, tightening both with a wrench.
#2 – Charging Batteries with 120 Volt Power
When camping in your RV at a campground with hookups, there will usually be 120 volts of alternating current (AC) power. This electricity will be used to power your appliances and RV systems, but it can also recharge RV batteries.
If you have a 120 volt AC outlet at home, you can also plug your RV into that to charge the batteries. Before charging, though, make sure your RV has a power converter because the power from the outlet is 120 volts compared to the 12 needed for the RV’s systems.
When ready, just plug in the cable to your RV and wait. It can take hours to recharge if the battery is already severely depleted.
#3 – Solar Power Alternatives
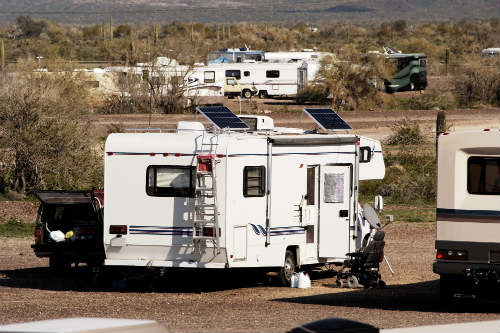
Another option for charging RV batteries is to capture the power of the sun. If you have solar panels, put them up on top of your RV and use a solar power system to convert the energy.
This is a great option for boondocking or staying in primitive campsites that do not have electrical hookups. However, one of the drawbacks is that there is limited time in the day to capture the sun’s rays.
On a sunny day, a single 100-watt solar panel can usually give about 30Ah a day. The panels should face the sun directly, and you may need to adjust the angles to be even more efficient.
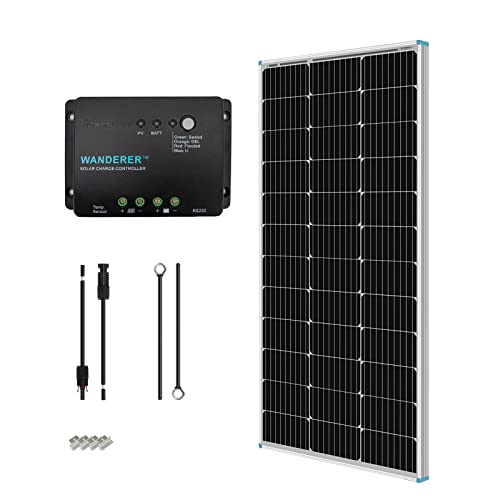
- 【Efficient Performance】The Starter Kit will produce an...
- 【Solid Quality】Advanced encapsulation material with...
- 【Smart Function】The Wanderer PWM Charge Controller is...
- 【Full System Protection】The Wanderer PWM Charge Controller...
- 【Ready to Install】This 100w Solar Panel Kit includes all of...
#4 – Using a Generator
Having a fuel-powered generator as a backup is a great idea when you don’t have access to electricity. Not only can the generator be used to power appliances, but it can also recharge the batteries if necessary.
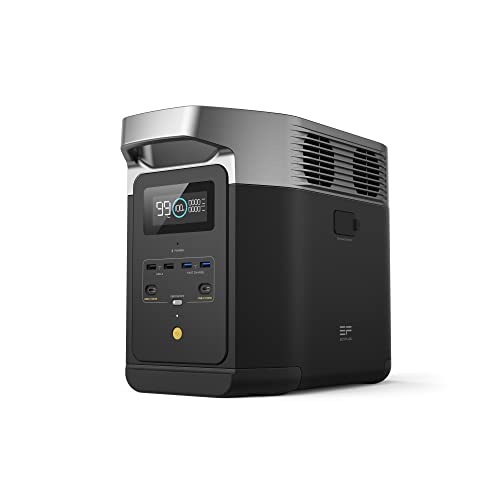
- 7 X Faster Charging. 0-80% in just 50 mins and 0-100% in 80 mins...
- Expandable Capacity from 1-3kWh. With the standalone portable...
- Power Almost Anything. Portable batteries have come a long way....
- Clean, Green Charging. With up to 500W of solar panel input,...
- Built to Last 6x Longer. Its LFP(LiFePO4) battery chemistry makes...
Monitoring RV Batteries
To check how much charge is left in the battery, your RV may have a panel on the wall inside the coach to show the various levels.
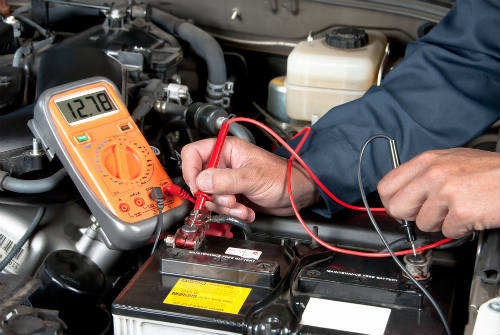
You can also use a variety of handheld devices to measure the voltage of your battery directly. A voltmeter can be placed directly on the probes of the battery’s terminals to see how much charge remains.
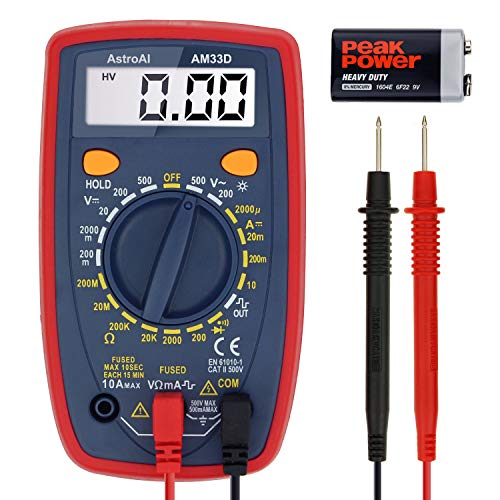
- VERSATILE DIGITAL MULTIMETER - Accurately measures AC/DC Voltage,...
- TROUBLESHOOTING WITH ACCURACY - This Multimeter has a sampling...
- ENSURES SAFETY - Double ceramic fuse is anti-burn and protects...
- EASE OF USE - Support Data Hold, low battery indicator and...
- ADDITIONAL TIPS - This Multimeter is designed to troubleshoot a...
If the battery was recently charged, there might be a surface charge, giving an inaccurate reading. Just run some appliances for several minutes, though, to remove it and get a better readout.
Alternatively, if many appliances are running, this can also show the voltage as lower than it really is. Turn everything off and wait for a short time to let the battery return to its internal voltage before checking the meter.
To extend the life of your deep-cycle battery, never let it go below 50% of its capacity. If you see the battery reaching this level, you should charge it as soon as possible.
Even if the appliances in the coach are turned off, they can still use minimal amounts of battery power, so don’t wait too long to recharge just because you aren’t using a lot of power.
#1 – How Charging a Battery Works
Because batteries store energy, to charge one, you need to feed it energy. However, too much will damage the battery.
Empty or discharged batteries can take more current when you first start charging them. But the more charged they become, the less current they can take.
When full, batteries have about 12.6 volts at rest. A battery is 50% discharged once it drops to 12.2 volts. It’s important not to let the battery get below a certain amount of volts.
RV batteries will last longer if you continually keep them above 12.0 volts, but 12.1 volts is preferable.
The battery gets charged when another device gives it electricity at a higher voltage than its current state. This reverses the chemical process that the battery uses to give off electricity. In other words, the power added will be stored in chemical form.
The charger you use must have a higher voltage than the battery you are charging to force more current into the battery. A charger with 13.5 volts will be able to do it, but using 14.5 volts has been shown to reduce charging time significantly.
After charging, the volt range of the battery may be higher than its fully charged state of 12.7 volts. It could be as high as 13 to 15 volts. But, after some time, it will return to its resting voltage level.
#2 – Different States of Battery Charge
Based on how much a battery is charged, the voltage remaining will be different. The voltage decreases by 0.1 volts for each 10% decrease in the charge until 60% is reached.
The battery will start with a 100% charge and 12.7 volts and decrease as follows:
- 90% charged – 12.6 volts
- 80% charged – 12.5 volts
- 70% charged – 12.4 volts
- 60% charged – 12.3 volts
- 50% charged – 12.1 volts
- 40% charged – 11.9 volts
- 30% charged – 11.8 volts
- 20% charged – 11.7 volts
- 10% charged – 11.5 volts
#3 – Undercharging, Overcharging and Equalizing Batteries
A lot of battery-related problems occur because batteries have been consistently undercharged. This can cause a battery to go dead as well.
When the battery is undercharged often enough, sulfation occurs. This can reduce the battery’s capacity or create a build-up between the plates inside, causing a short.
One way to correct this is through a process called equalizing. By raising the voltage very high for several hours, the battery acid starts to boil and the sulfate gets rubbed off the plates.
Be careful not to equalize gel or AGM batteries because it can only be done on wet cell (flooded) batteries that have thin plates filled with battery acid.
Overcharging isn’t usually a problem with RV batteries since most people don’t actually charge their batteries enough when recharging. However, it can cause the battery to lose water, and the plates inside can get corroded.
#4 – The Importance of Charging Your RV Batteries
The majority of people will use their RV batteries for only a few hours a day or overnight. Many campgrounds have electrical hookups, which do not cause you to rely solely on batteries.
But for those who enjoy the freedom of dry camping or boondocking without access to services and electricity, a battery is of vital importance. Keeping your batteries charged will mean a much more comfortable trip.
The batteries will allow you to run appliances in your 12V system as well as 120V devices if you have an inverter setup.
Those who have RVs with slide outs will also need electricity to retract the slider when you want to drive to another location. Without a working battery, this will be impossible and may leave you stranded unless you have a generator to use instead.
#5 – How Long Does It Take to Charge RV Batteries?
It takes less time to deplete a battery than it does to charge it, so any time you recharge the battery, you’ll need a lot of patience. The amount of time it takes will depend on the kind of charger you have.
Most standard RV converters charge at about 20 to 30 amps which can take some time if you have a larger battery bank. More expensive chargers can provide 100+ amps of charging current.
#6 – Problems with Dormant Batteries
To keep a battery in good working order, it should be used regularly and experience cycles of being used up, or discharged, and then charged. If left unused, the battery will eventually discharge completely.
It’s also inconvenient to be ready for a trip only to discover your RV’s batteries are dead, causing you to delay your travels.
Some may try to prevent this problem by leaving the RV plugged into power. While this will prevent the battery from discharging, it may still result in the battery not lasting as long because it still isn’t being used.
If you do want to leave the battery plugged in, make sure your RVs converter/charger or the external charger you use is multi-stage and can be used as a maintainer.
Storing an RV Battery
RVs are usually put into storage over the winter, and this can wreak havoc on their batteries and shorten their lifespan. If the RV is stored in a cold place, some batteries can freeze and die.
If you store your RV remotely, remove the batteries and take them home so you can store them nearby and in a well-ventilated and temperature-controlled area. Never put them close to a heat source, or they could explode. You’ll have access to monitor them once a month easily and charge them if they start to get depleted.

- [All in One, Keep your battery charged and your car ready to go]...
- [Enjoy Precision Charging, Your car deserves the best] Using a...
- [Restore your Battery, Don't let a dead battery ruin your plans]...
- [8 Charging Protection, Never get stranded again] The charging...
- [Intelligent Memory] The Car Battery Charger mode has a memory...
Related Questions
#1 – What’s the Difference Between a Car Battery and an RV Battery?
RV batteries are called “deep cycle” because they are made to provide a steady stream of power over a longer duration. They can also be discharged and then recharged multiple times.
Car batteries, on the other hand, are designed to give a lot of current over a shorter amount of time. A car’s battery is mostly used to give a quick burst of power to start the engine as compared to an RV which will run for a long time to power appliances while camping.
#2 – Can I Use a Car Battery in My RV?
Car batteries should never be used as a substitute for an RV battery. They are not designed for the same kind of usage, and a car battery will not be able to work the same. Always use a deep cycle battery that is meant to be used only in an RV.
#3 – Do I Need an Adapter to Charge My Battery?
You only need an adapter if the plug of your RV doesn’t fit the socket available. Most RVs are either 30 or 50 amps. An easy way to tell is to look at the plug on your power cord and see how many prongs there are. Three prongs will indicate 30 amps, while four prongs mean it is 50 amps.
If the campground you’re staying at only has one type of outlet, then you’ll need a converter to be able to use this power source to recharge your battery. Older campgrounds may only have 15 or 20 amps so you might need a separate adapter for those as well.
Product data was last updated on 2024-04-26 at 07:31.