Okay, so we all begin somewhere and sometime. You’ve got your new travel trailer and are planning a trip into the great outdoors. Congratulations, you’ve made a big step in the right direction.
To ensure your trip is memorable, and for the right reasons, let’s ensure you’ve checked all the boxes.
What to Pack, How to Prepare, and Planning Tips for Your First Trip

I have a son and a daughter. When they first saw our new RV, they were super excited! They began jumping around and telling all of their friends we were going camping! My first camping experience was surreal so I wanted to make theirs just as extraordinary.

However, once we reached our campsite, I noticed we had forgotten so many essential items. While my family was having fun around the campfire, I was busy with a notepad writing down all of the things I had forgotten.
So my first tip is the most obvious — but also the most overlooked. Plan accordingly and buy what you need, otherwise, you’ll likely have to go without.
There are three water tanks inside. The black tank is used for toilet water and other deposits. The gray is used for sink water. And there is a freshwater tank for the drinkable supply. The black and gray tanks will be empty as you set out and will need to be dumped before you head back home.
Before you head out, determine if you need to fill your fresh-water tank. My campsite had an RV station that provided free drinking water so I was able to forgo the process to save myself the extra weight. If you’re considering the same, call ahead to your campsite and make sure they provide this service.
Another packing tip is to store the heavy items (such as your generator) low to the ground and near the front of the trailer.
What You Should Know About Driving While Towing an RV
The first thing you should do is check how much weight your towing vehicle can tow. Most trucks and SUVs list this information on the driver door with a sticker. I have a 2012 Ford F-150 that can tow 11,500 pounds. Previously, I owned a 2010 Dodge Durango with a 7,200-pound towing capacity.
Once you check your truck, you need to check your trailer’s weight. There are three weights. The first is dry weight, which means how much the trailer weighs without any supplies or water. The second is the GVWR, or its weight once water and supplies are loaded. The third weight is called tongue weight. This refers to how much weight the trailer pushes onto the vehicle’s hitch. It is important that NONE of these figures is more than your truck’s towing capacity.
More than this, I highly recommend a 1,000-pound window between what you are towing and what your truck claims it can tow. Many truck-manufacturers buff this number up. Nobody wants to take a camping trip and destroy their engine or transmission on the road, especially with excited children in tow.
You should also make sure to note the truck hitch’s ball size. The majority of travel trailers use 5/8 of an inch, which is bigger than other trailers and boats.
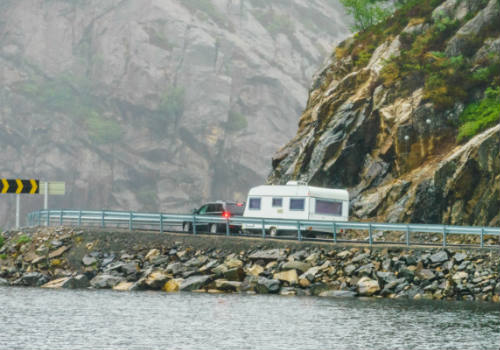
When driving, be extra careful around tight turns on mountainous roads. Note the caution signs you see on the highway that display a trailer falling over. Yeah, those signs are for you now. I would be remiss to discount the large number of RVs that I have seen turned over onto their sides because of reckless driving.
Also, be careful of fishtailing, which is highly probable when a truck is towing an RV. I recommend that you install a hitch with weight distribution. A sway bar or suspension airbags will also do the trick. If you do happen to start fishtailing, be careful to avoid turning your wheel or slamming the brakes. Just remove your foot from the gas pedal and continue forward momentum. If your trailer is fitted with brakes, then give them a SLIGHT tap. Nothing too heavy.
When driving, also take special care of low hanging trees. Roads full of tree branches can be a nightmare for a trailer or any size.
Finally, avoid steep declines when driving. They will cause the trailer’s tongue to hit the ground and your stabilizers to bend.
What to Do at the Campsite
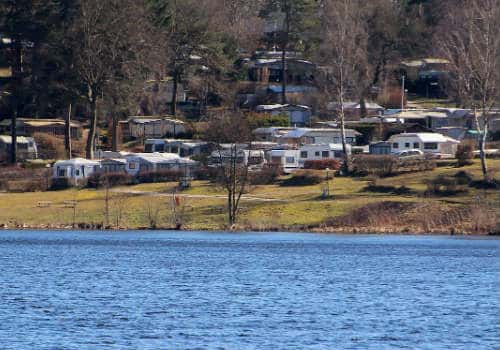
Make sure to park your trailer on the flattest ground possible. If the trailer is not level, you will feel odd when walking around. Beyond you feeling odd, the RV will also bounce a little with each step. More importantly, if you are parked upward or downward, you can damage the fridge inside the trailer.
My next point of advice is to unhook your trailer from the tow vehicle. This is because setting up the trailer is much easier when it’s not connected to the vehicle, as the stabilizers will connect with the ground below. Otherwise, you would have to match their contact with the hitch’s height. Also, with your truck free, you can explore the town or drive the children to the swimming hole.
Then, you must set up the stabilizers. Most travel trailers come with four. They are there to make sure the RV doesn’t bounce around when you walk inside. If you don’t install them, get ready to experience a shaky trailer each time someone uses the bathroom or turns to their side when sleeping.
The final point is to make sure that you have the proper power adapters if your campsite provides power. The common feature of travel trailers is 30 amps, but there are some with 15 or 50 amps. If you forgot the power adapter, or have the wrong one with you, then forget about connecting to the park’s provided power.
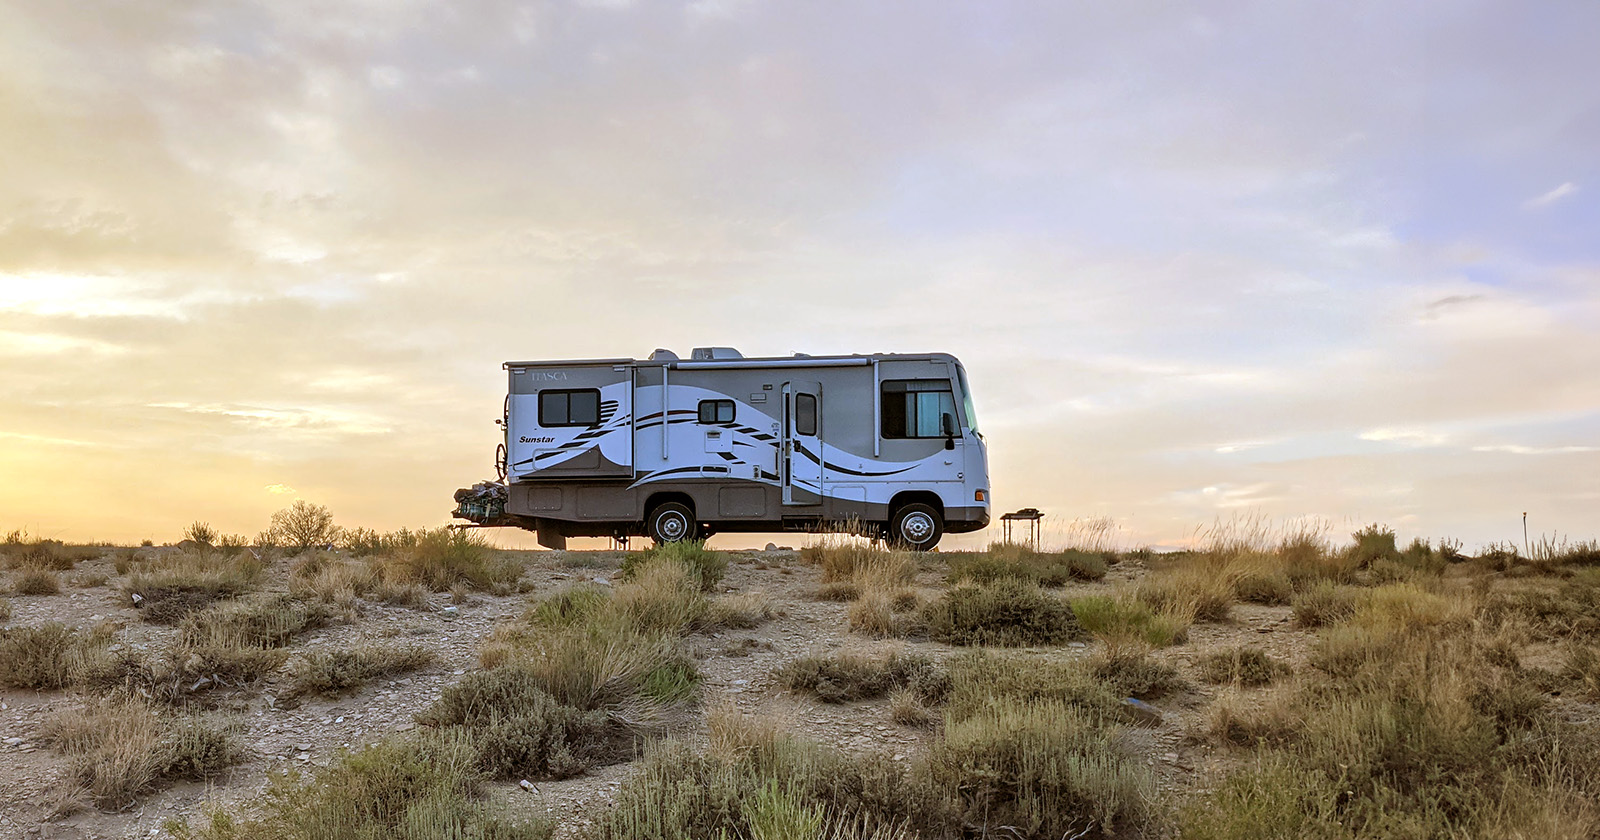
RV Power and HVAC
You must know that the travel trailer’s battery isn’t going to provide electricity to your air conditioning unit. For this, you need a generator with at least 3,000 watts of power. Also, it’s not a good idea to do any heavy electrical lifting when running the AC unit. This includes using the television or the microwave.
Of course, if you’re plugged into the park’s power, then you can forget this point entirely. Otherwise, if you plan on running all of the electrical devices in your trailer at once, be prepared to buy a massive generator.
When you’re using your generator, move it as far away from your trailer as possible. Several nice generators provide a quiet service, but most do not. If your generator is loud, check out this article on how to quiet it by up to 50%.
Your fridge can probably run using either electricity or propane. I prefer propane use if I’m driving or in a campground without power. Once I plug into the campground power outlet, though, I switch to electrical power. Some of these fridges, including mine, have an automatic setting that realizes when there’s connected power and shifts the power mode accordingly.
Water, Water, Water
Again, there are three liquid tanks in your RV: fresh, gray, and black. The fresh, as mentioned above, is for your drinking water. The gray will be filled with your shower and sink water. The black is for the toilet.
There’s a difference in water capacity for different trailers. Although I have a fairly big 43-gallon freshwater tank, there are four people in my family. If the campground doesn’t have shower installations, we can’t all take showers daily. This is something to consider ahead of time.
Don’t worry about the strange taste in the drinking water on the first use. It is completely normal (and healthy) and will pass after a few run-throughs.
I think it is a good idea to stock your RV with a hand-sanitizer. This is to prevent using too much water after going to the toilet. Also, be sure to turn off the water as you brush your teeth.
Post-Trip Information
Okay, so you’ve had a great first camping trip in your travel trailer. Now, you need to find an RV dump station. This can be a bit hard at first (especially on your own and during your first trip), but if you ask around, it shouldn’t be too painful of a process.
Upon arrival at the dump station, park before the dump hole so you can make sure that the trailer is on the right side. You’ll want to have purchased an RV dump hose because they don’t come with new trailers.
Once you connect one end of the dump hose to your trailer and place the other one into the hole, pull the black lever that can be found underneath your trailer. All of the accumulated sewage will spill forth, so you’re forewarned. Once the nastiness has washed away, remove the dump hose, wash it thoroughly, and store it.


Great article, some good stuff there