Connecting your RV to shore power raises an important consideration: should you disconnect your RV battery? In this guide, we delve into the essentials of RV battery disconnect switches. We’ll explore how your RV’s AC and DC power systems interact, the specific circumstances under which you should consider using a disconnect switch, and the advantages these switches offer for battery longevity and maintenance. Additionally, we’ll provide insights into the different types of battery disconnect switches available, their applications, and practical tips for installation. Whether you’re parked for a long stay or preparing your RV for storage, understanding the use of battery disconnect switches is crucial for any RV owner.
Your RV’s Two Electrical Systems: AC and DC
Your RV is equipped with two separate electrical systems. The AC (Alternating Current) system is powered by shore power and can handle 120 volts, like the outlets in a typical home. It powers consumer electronics and appliances that require AC power. The DC (Direct Current) system, on the other hand, provides about 12 volts and is powered by your RV’s battery bank. This system runs essential components like lights, slide-outs, and certain appliances.
Converts & Inverters
Key components of your RV’s electrical setup include converters and inverters. Converters transform AC power to DC power, charging your batteries while you’re plugged in and running your DC appliances. Inverters do the opposite, converting DC power from your batteries into AC power for use when shore power isn’t available.

What Is a Battery Disconnect Switch
A battery disconnect switch offers a simple solution to manage your RV’s battery without manually detaching cables. It’s particularly useful for:
- Storage: Prevents battery drain by disconnecting power when the RV is not in use. Especially during long-term storage, it’s advisable to disconnect your batteries or use a battery tender if you won’t be using the RV for extended periods.
- Safety During Maintenance: Ensures safety by disconnecting power when working on the RV’s electrical systems.
- Boondocking: Conserves battery life by limiting unnecessary power drainage.
Different Types of RV Battery Disconnect Switches
Choosing the right type of RV battery disconnect switch depends on your needs, the complexity of your RV’s electrical systems, and how frequently you anticipate using the switch. Here’s a breakdown of the common types of disconnect switches you might consider:
Manual Disconnect Switches
The most basic type, manual disconnect switches, require you to physically flip a switch or turn a knob to disconnect the battery. These are reliable and straightforward, making them a popular choice for many RVers.
Remote Disconnect Switches
Remote disconnect switches allow you to control the battery connection via a remote control. This type is particularly useful if your battery compartment is difficult to access.
When selecting a disconnect switch, consider the ease of installation, the durability of the switch, and how well it fits with your RV’s electrical system. Whatever type you choose, ensuring it meets your specific power management needs is crucial for maintaining your RV’s battery health and functionality.
When Should I Disconnect My RV Battery?
When connected to shore power, it is generally not necessary to disconnect your RV battery. The RV’s converter is designed to use shore power to charge the batteries and maintain power to your DC devices, thus preventing battery discharge. However, specific circumstances where disconnecting your battery could be beneficial.
During Storage
As Jim from Colton RV explains in the video below, the battery disconnect should always be set to ‘off’ when storing your RV. This position ensures that the battery does not discharge over the storage period. When the RV is stored and not being used for an extended time, disconnecting the battery is crucial to maintain its charge. Before you resume using your RV, simply turn the disconnect to ‘on’ to allow the battery to charge from shore power or while driving.
Using a Battery Maintainer for Long-Term Storage: If you plan to leave your RV and its battery idle for several months, it’s advisable to use a battery maintainer. A battery maintainer keeps the battery charged at optimal levels without the risks of overcharging. This device is particularly valuable during long-term storage as it ensures your battery remains healthy and ready for use, extending its lifespan and preventing common issues such as battery sulfation. Connect the maintainer after setting the battery disconnect to ‘off’ to maintain the battery safely during periods of inactivity.
Modern Converter Management
Most modern converters can manage your battery charge effectively when plugged in, supplying power directly to your RV’s 12V appliances and transitioning to a maintenance mode once the battery is fully charged. If you plan to stay stationary for a long period, you can disconnect the battery to prevent any unnecessary stress, although this is often not needed due to the sophisticated charging modes available that maintain the battery without overcharging. It’s advisable to check the battery at least once a month if disconnected, to top it off and ensure it remains in good condition.
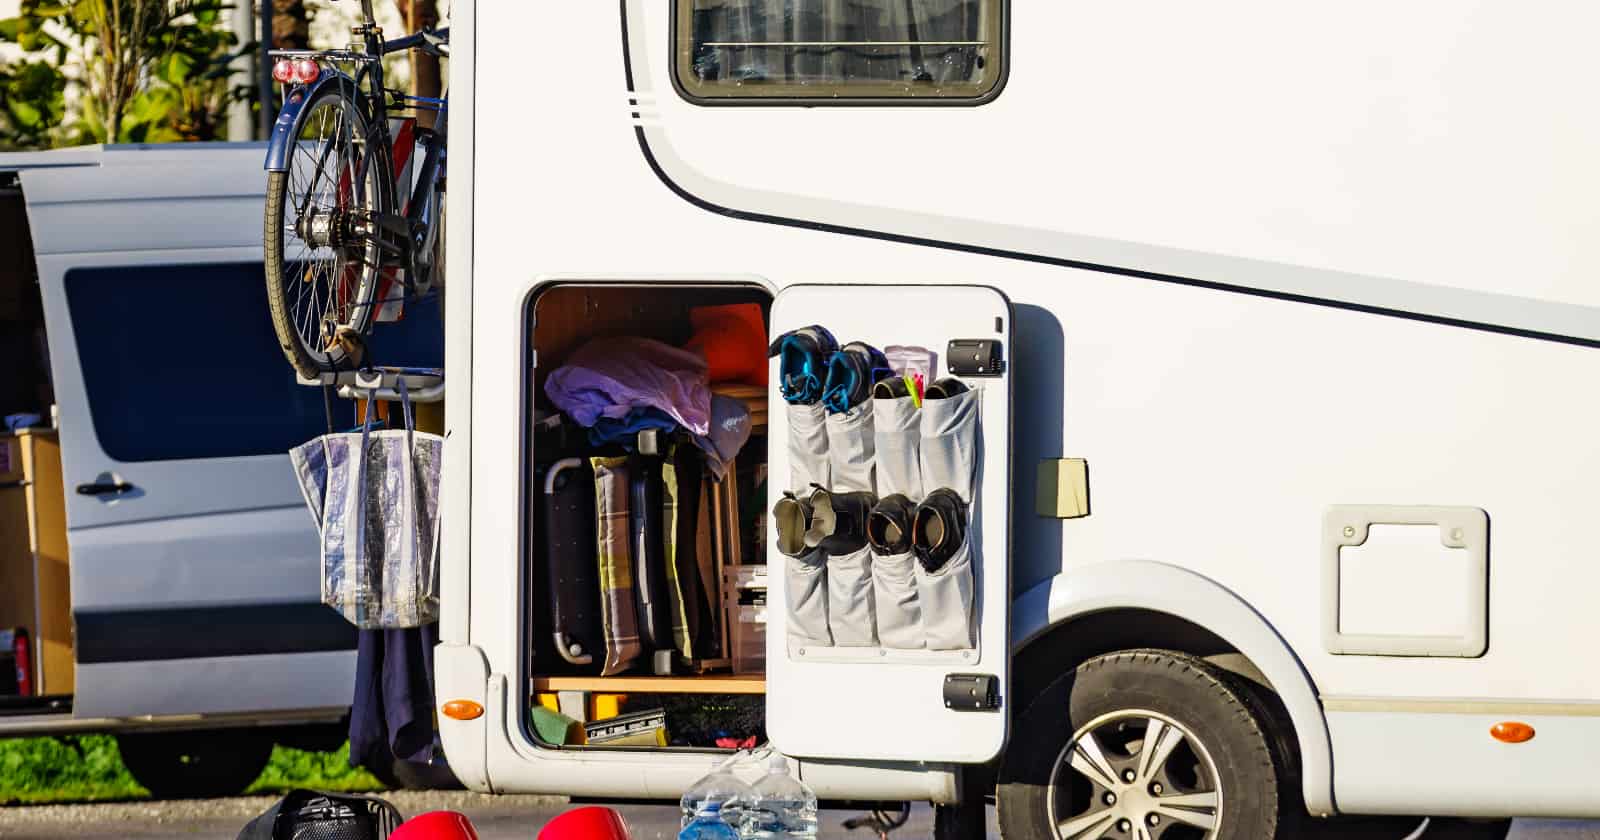
Location of the Disconnect Switch
The location of the battery disconnect switch can vary depending on the type of RV. In fifth wheels, it’s often found in the storage bay; in motorhomes, it might be located in the step well right inside the entrance door; and in travel trailers, it could be mounted on the front, right behind the battery.
Installing an RV Battery Disconnect Switch
Older or smaller RVs, such as small travel trailers, may not come with a battery disconnect switch installed. Fortunately, installing one is relatively straightforward and can be a beneficial DIY project. Adding a disconnect switch allows you to easily manage your battery’s connection without needing to manually detach battery cables, enhancing convenience and safety.
- Identify Your Installation Site: Choose a location for the switch that is easily accessible for operation. This could be near the battery or in a utility bay.
- Disconnect Your Battery: Always start by disconnecting your battery to avoid any electrical hazards. Remove the negative cable first.
- Install the Switch: Attach the switch between the battery and the RV’s electrical system. If your switch mounts directly to the battery post, secure it in place.
- Complete the Circuit: Reconnect your battery and ensure the switch is in the ‘off’ position before turning on to test.
Understanding when to disconnect your RV battery and how to use a battery disconnect switch can greatly enhance your RV experience. Whether you’re storing your RV, maintaining it, or just parked at a campsite, managing your power sources effectively ensures the safety, convenience, and longevity of your electrical systems.


If your trailer is in storage, but you have solar panels to charge the battery should you still disconnect the battery?
Up to very recently the converter installed on Airstreams was a straight 13.6V converter supplying power to the trailer’s 12V curcuit, including the batteries. Most will use campgrounds with shore power and thus are leaving their batteries on a 13.6 charge, no matter how fully charged they are. This is why I simply disconnect the batteries from the 12V circuit with the “Use/Store” switch when connected to shore power; my 4 year old batteries are like new (based on cell gravity) and I haven’t needed to add distilled water. It’s my MPPT solar controller that takes good care of my 4 deep cycle 6V battery bank.
If your batts are disconnected when plugged into AC , your refrigerator won’t switch to propane without DC power
You would also disconnect your RV battery(s) at the negative – terminal when any welding is being done on any part of the RV. This prevents any stray currents in the frame of the RV from damaging the 12vdc components
I have solar panels, so I leave the battery connected whether it is plugged or not. I unplug it for longer storage and the solar keeps the batteries charged.
My battery had a bad cell in it. The charger continued to charge the battery to the point it nearly caught fire. The battery was so hot I couldn’t touch it. I checked the charger output and voltage regulator and found them to be working properly. Checked the battery and found a bad cell. The battery was three months old. We were sleeping right above it. Thank God the battery was vented to the outside. Had it caught fire we might have been in a bad way.
I was told that my solar panels/controller will continue to charge the batteries even when the battery disconnect switch is off. Sound right?
“After your battery is charged, disconnecting it while you’re on shore power can slightly improve the battery’s lifespan. ”
I wouldn’t recommend doing this. Most converters aren’t designed to handle your 12vdc load. you’ll overheat the converter and could cause issues with 12v components.
Should I disconnect the tow vehicle when I hook up to shore power?