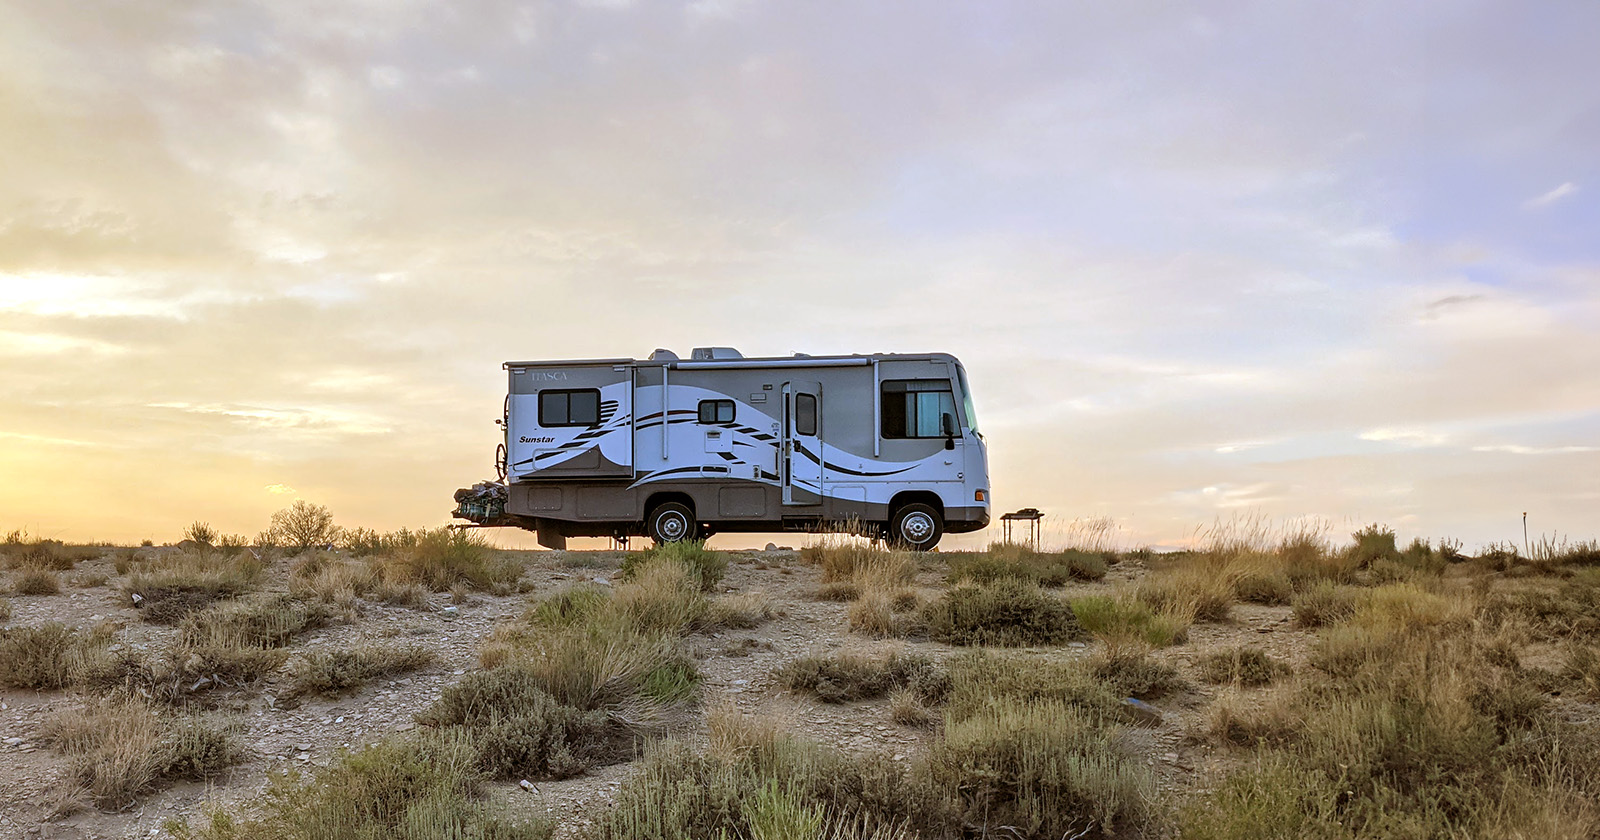
Insulation is not just to protect against cold weather. It also protects from hot weather. Have you ever had your air conditioner maxed out and it was still warm inside your coach? This happens due to the intensity of the heat outside. It also could mean that your cold air is leaking out of your RV.
Adding insulation to the underside of your RV can keep the ground heat out and keep the inside comfortable. If you are into dry camping (boondocking), this can reduce your power usage needs.
5 Steps to Install Insulation
Adding insulation to your RV’s underbelly is not complex. It will require attention to detail and precise measurements. The five steps below will walk you through the installation process.

1. Preparing the Underside
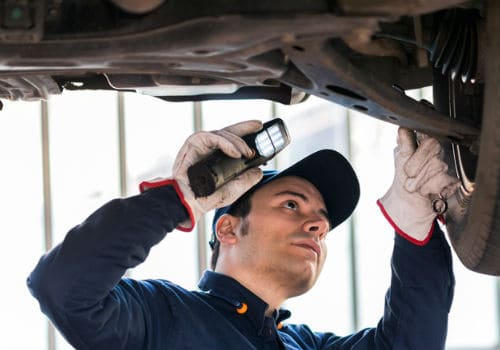
Before you start, you will want to examine the underbelly of your RV. Clear away any road debris and look for any unsealed cracks. General wear and tear from the vibration of the road can create cracks and loosen seals.
Use a good silicone caulking to plug up these openings. Make sure you clean the area to get a tight seal. A secondary advantage is blocking any entry point for bugs to get into your coach.
2. Detach Things in the Way
Most RVs have a material called coroplast on the underside of the coach. This looks like a corrugated plastic sheet similar to a cardboard box. This sheeting is a tough plastic that protects everything underneath.
There should be self-tapping screws holding it to the chassis. A good electric screwdriver will help you loosen the screws. You will want to inspect the coroplast’s integrity. If you feel it’s time to replace it, hardware stores have coroplast sheeting in stock.
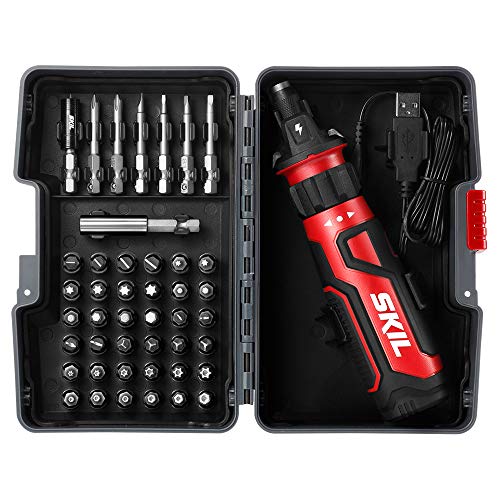
- FOR EVERYDAY USE - This cordless electric screwdriver is your...
- CIRCUIT SENSOR TECHNOLOGY - Patented technology safely detects...
- EASY TO USE - Change to forward or reverse with a turn of the...
- FORGET DOWN TIME - A rechargeable lithium-ion battery keeps this...
- READY TO GO - Power up your cordless screwdriver anywhere with...
Once the protective coroplast is removed, take note of the wiring, plumbing, and other parts that will be in the way when you are trying to install the insulation. We recommend using a digital camera, or a cell phone camera, to give you an image of how everything will have to be reattached later.
You will want to label the wires to remind you which wire connects to which. Your hardware store should have wire labels available, but medical tape or masking tape works just as well.
3. Installing Your Insulation
Once everything is prepared, you will want to grab your measuring tape. You will be installing the insulation in the openings between the joists. Make sure your measurements are precise so that your insulation will fit securely.
You will want to take measurements of where to cut openings for the wires and plumbing. The goal will be to fit these connections through the insulation. You can secure your insulation with wire, screws, or other adhesives as you see fit.
There are three types of insulation that work best.
- Fiberglass rolled insulation
- Rigid foam
- Spray foam
If you use any of the foams, you will want to layer fire-resistant sheeting between the layers of foam. When foam melts or burns, it creates toxic fumes.
If this is a permanent installation, once your insulation is in place, there is nothing wrong with using your silicone caulking to seal up the edges of the insulation. It will enhance the barrier and be an additional adhesive to hold everything in place.
4. Putting It All Back Together
Once your insulation is in place, now it is time to put everything back together. The wiring and plumbing that you took apart, you re-install. If you did label everything, putting it back together should be a simple process.
5. Sealing It Up
The last thing to do is to refit the coroplast. Some experts recommend adding a layer of DuPont Tyvek as additional protection from water and debris. You would place this layer between your insulation and the coroplast. This lightweight material is used to protect houses and is placed between the wall and outside siding.
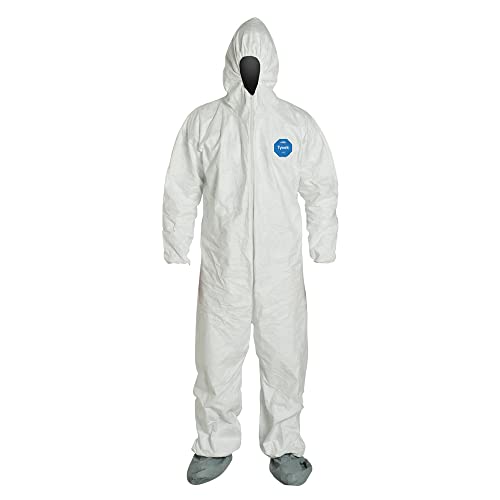
- Comfort fit design based on extensive wearer input to provide our...
- Serged seams, front zipper closure, stormflaps, attached...
- Elastic waist, wrists and ankles
- Sleeve length: 35.5", Chest width: 26.5", Inseam: 29.5", Fits...
- Tyvek garments are composed of flash spun high density...
Installing Insulation Temporarily
If you do not want to make the insulation permanent, you can attach your insulation against the outside of the coroplast. Using S hooks and wire to hold it tightly against the bottom of your RV can create that additional barrier you are looking for.
This method is not recommended if you are going to be moving your RV around a lot. The vibrations of the road can move the insulation around creating gaps. An RV skirt is also recommended if you go this route, to give an additional barrier of protection from water and other contaminants.
Types Of Insulation
As mentioned above, there are generally three types of insulation that can work for your RV. Each has its advantages and disadvantages. The best way to determine which one is right for you depends on your camping habits.
- Fiberglass: This material is your cheapest option. More than likely, you already have it installed in your RV walls. It can handle extreme temperatures. It also is the best one for maintaining a consistent temperature inside your coach. A disadvantage of fiberglass insulation is its susceptibility to moisture. It also wears down over time, so replacement after a few years may be required. To give you longevity, avoid climates that have high humidity.
- Rigid Foam: You can find foam sheeting at almost any hardware store. They come in various thicknesses and are easy to cut to size. It usually has a long life span and is moisture resistant. If you travel to different regions, the foam can handle different climates. The downside to rigid foam is the difficulty of installation. You want to be careful when fitting it in place. The foam sheeting can break if too much pressure is applied. Also, one sheet may not give you the insulating protection you may want. Using multiple layers is recommended.
- Spray Foam: Spray foam is useful for lightweight RVs that stay in one climate. It is the lightest of the materials and impervious to moisture. Due to the complexity of installing correctly, you may want to have a professional do the work for you. If you are a seasonal camper that stores your RV during the winter, spray foam can be the way to go. It can handle late fall temperatures that are around the freezing point. You will want to avoid extreme heat or cold since it cannot handle these temperatures.
Types Of Rigid Foam
If you decide to go with the rigid foam option, there are three different versions you can choose from.
- Extruded Polystyrene (XPS)
- Polyisocyanurate (ISO)
- Expanded Polystyrene (EPS)
Of the three, we do not recommend the extruded polystyrene (XPS) version. It has the lowest heat retention rating (R-Value). Also, of the three, it absorbs the most moisture over time compared to the other two. A good aspect of XPS is the ability to recycle it.
The most expensive of them is the ISO insulation. It has the highest heat retention rating and is used mostly for roofing. Be aware that the process of making this material is not environmentally friendly. It does usually come with a fiberglass or foil facing which adds a layer of vapor protection.
EPS insulation is the most versatile of the group. It is approved for ground contact, so it can handle the outdoor elements. It does not retain moisture and does have an insect repelling aspect to it.
Whichever type of rigid foam you choose, make sure you clean up after installation. Foam is not biodegradable and can poison the ground.
Insulating Other Areas
The underbelly of your RV can be a big source of your heat problem. Whether you are trying to keep it in, or out, adding this extra layer of protection can reduce your power needs. It can also save your air conditioners by not having to work so hard to keep the temperature set. For those of you with propane heaters, this can save you money on your propane bill due to your heater not constantly on.
You may also want to insulate your windows and doors. Check the seams around both for any openings. You may want to use thermal bubble wrap on the inside of your windows. This can reflect the sun’s heat as well as insulate your windows from the outside temperatures. For drivable RVs, this can be helpful to block the heat coming from the windshield.
Another place to check for leaks is your vents. There are vent insulation products out there that fit inside your ducts or covers of your roof vents. These areas are some of the biggest culprits of where you are losing air.
Finally, check your slide out edges. Make sure that the rubber seals are moisturized enough to create a seal. For those problem areas, you can door snakes to create a seal. These cloth filled tubes are normally used to block drafts coming from home doors. For the creative RVer, they can also be used to plug slide out leaks.

- Weighted door draft stopper: sandbags are specially added to make...
- Hook and loop fixation: hook and loop fixation is used on the...
- Large size: 36 inches in length and 4.5 inches in width (suitable...
- Multiple Functions: can reduce the noise and block the cold/hot...
- Superior fabrics: soft texture, simple, elegant; can hang it on...
Product data was last updated on 2024-04-24 at 22:19.